|
|
|
Showing you the latest artworks that I'm working on. Pictures of my past progress workings are here too along with descriptions, materials used and tutorials. Use the tab menu below to browse the categories. Click any image to bring up a larger view of it. |
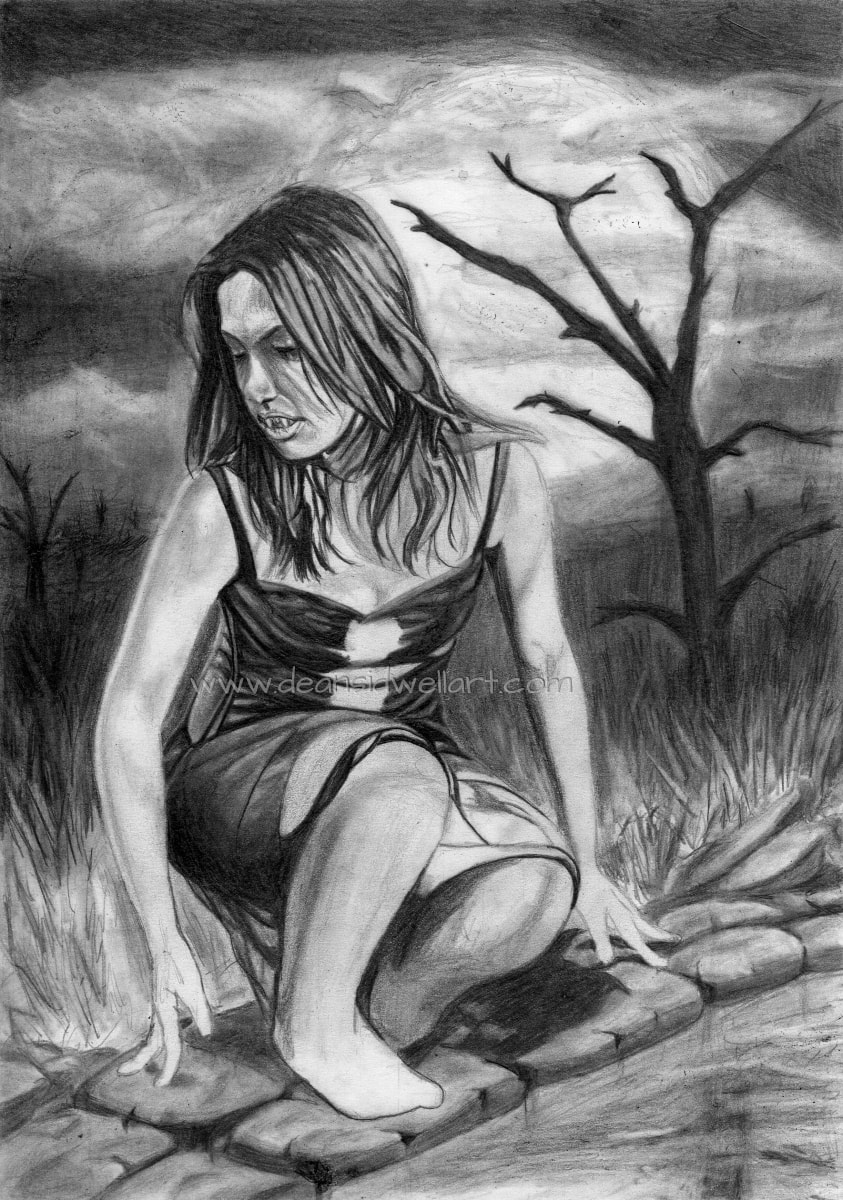
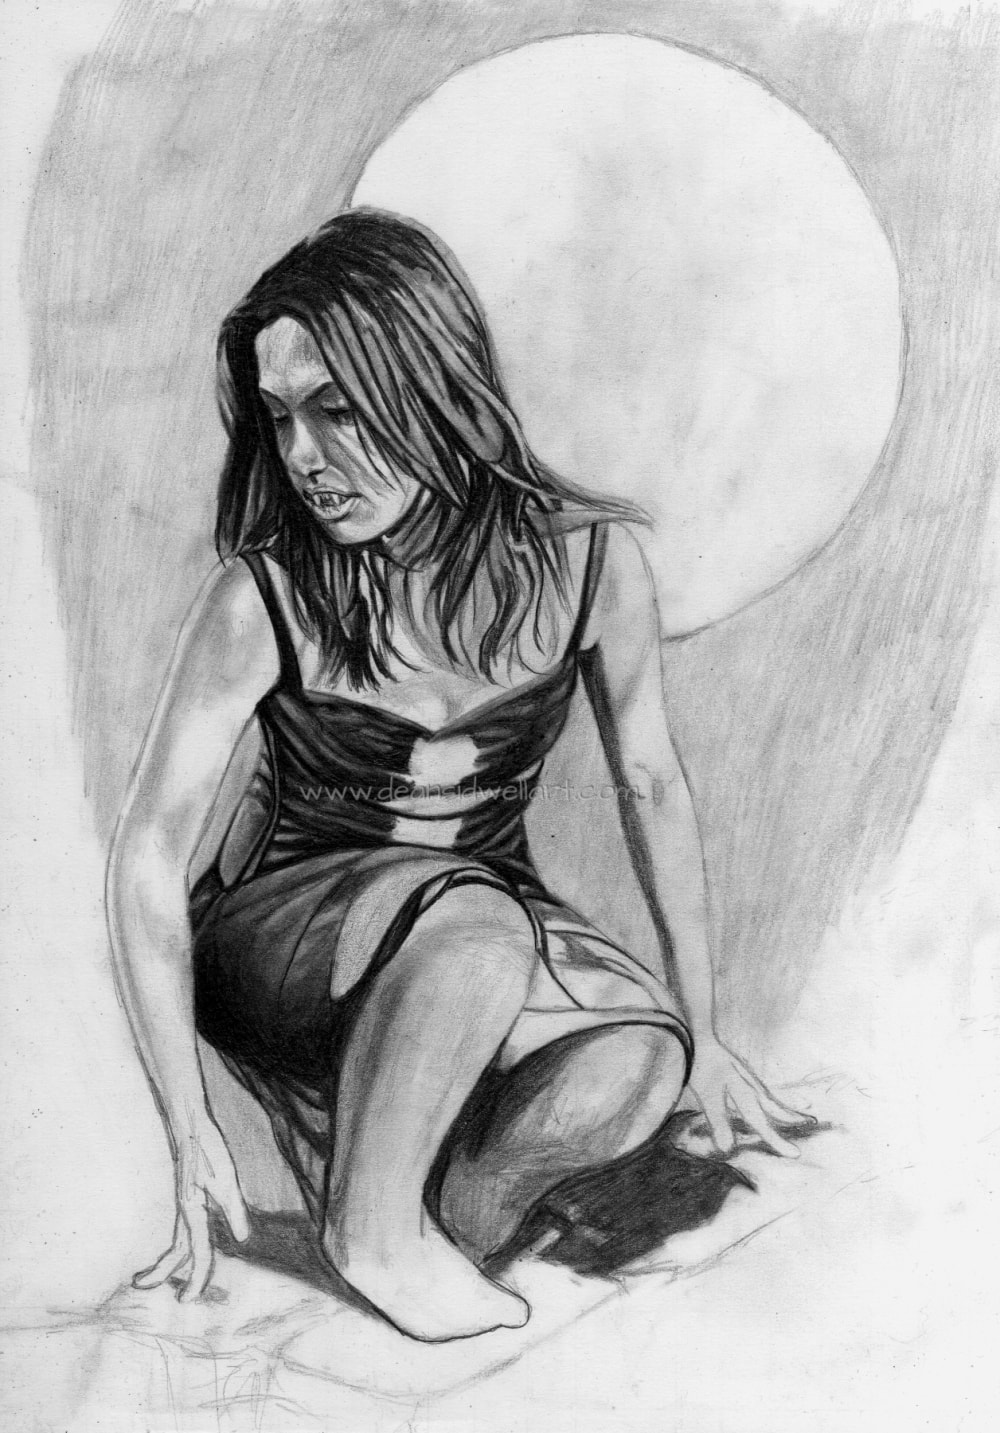
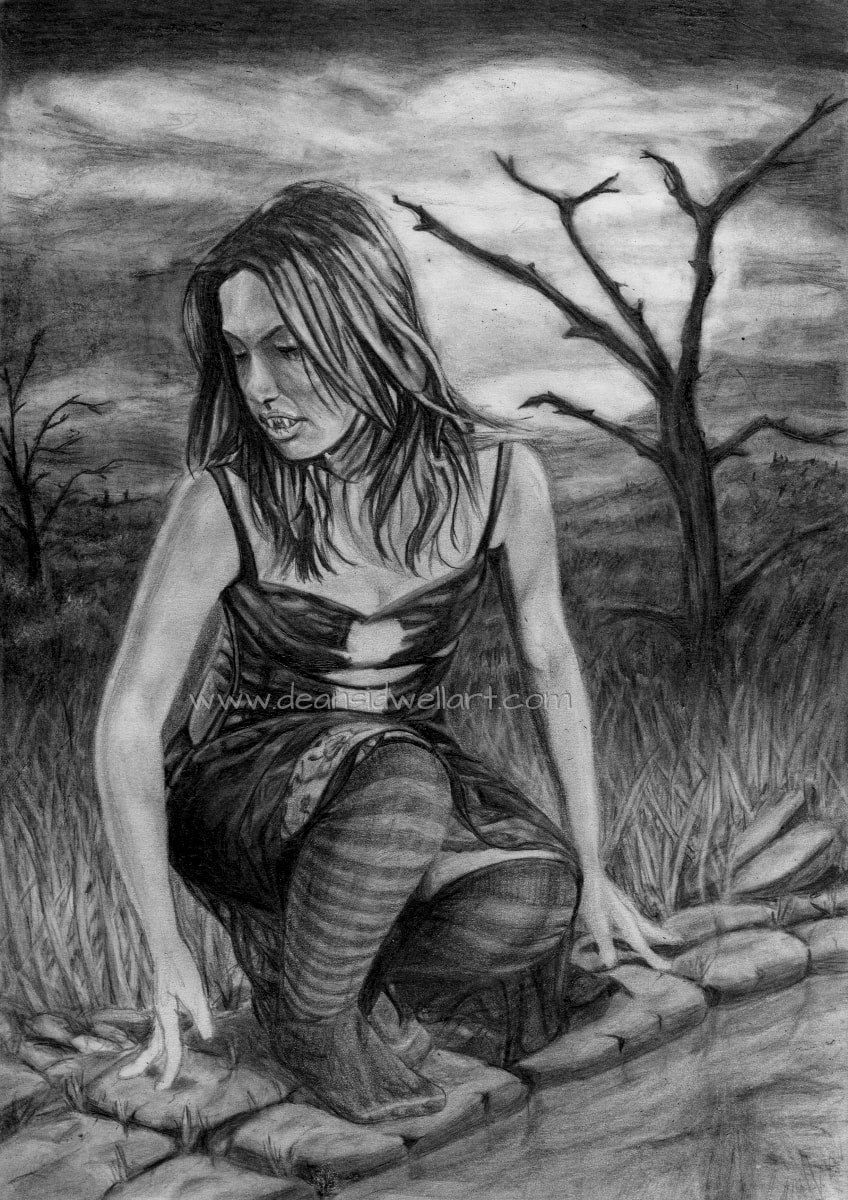
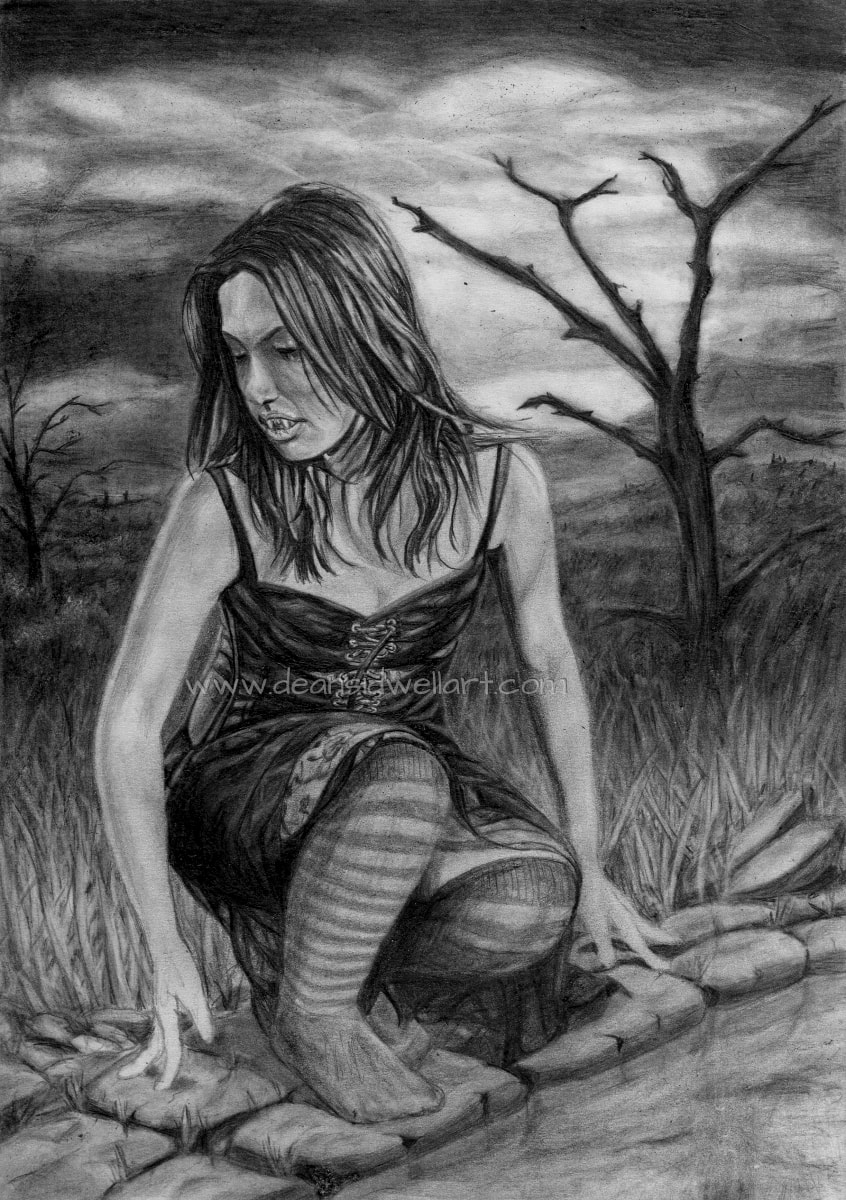
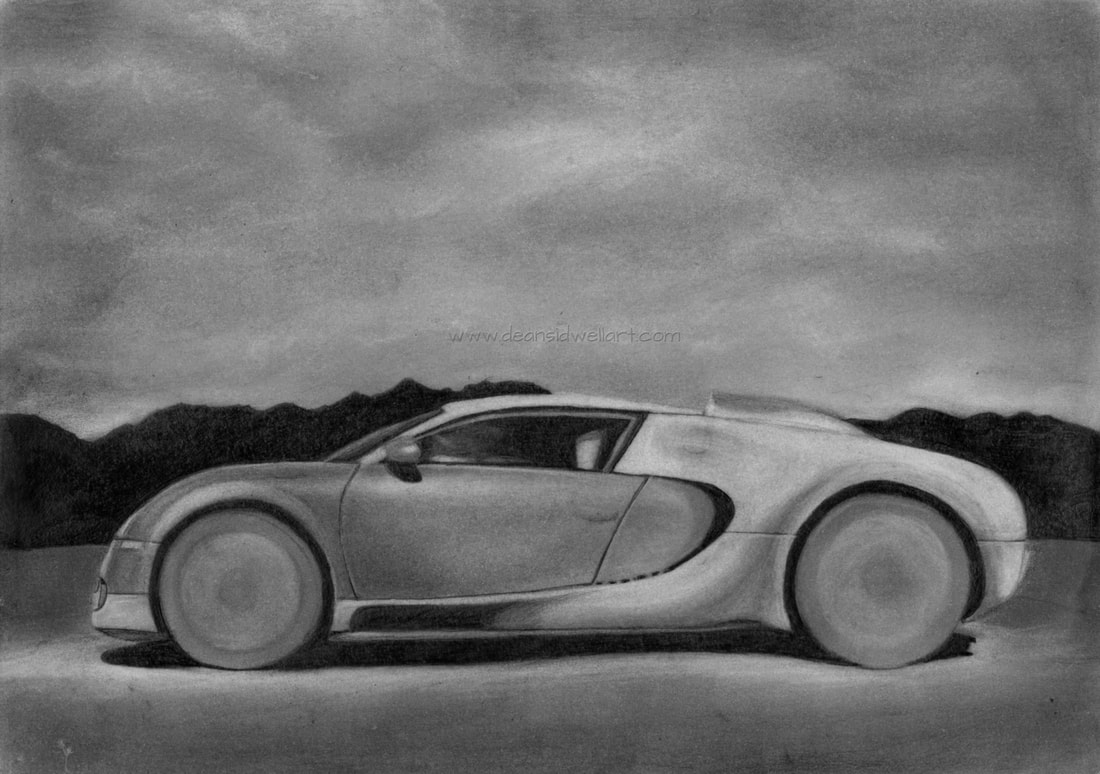
Materials used for this: A3(42x29.7cm)cartridge paper, various grades of pencil ranging from 5H to 5B, HB & 2B mechanical pencils(0.5mm), blending stumps, tissues, cotton buds & erasers.
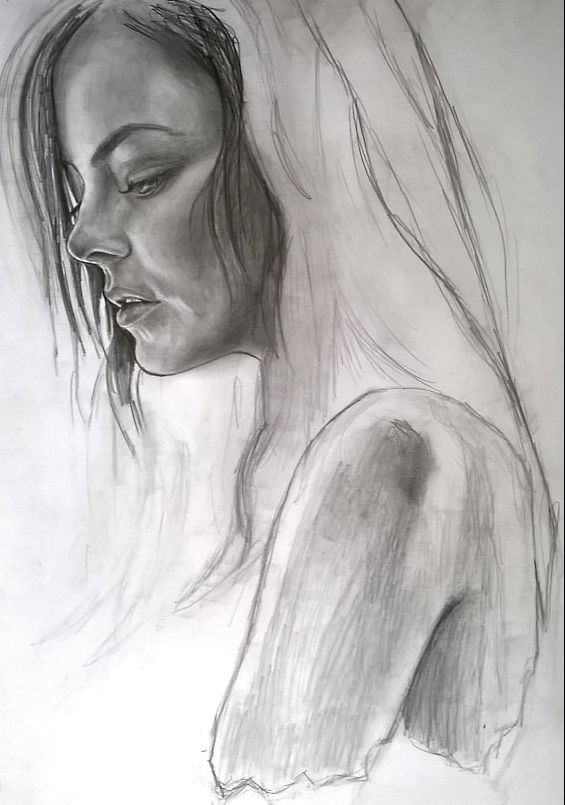
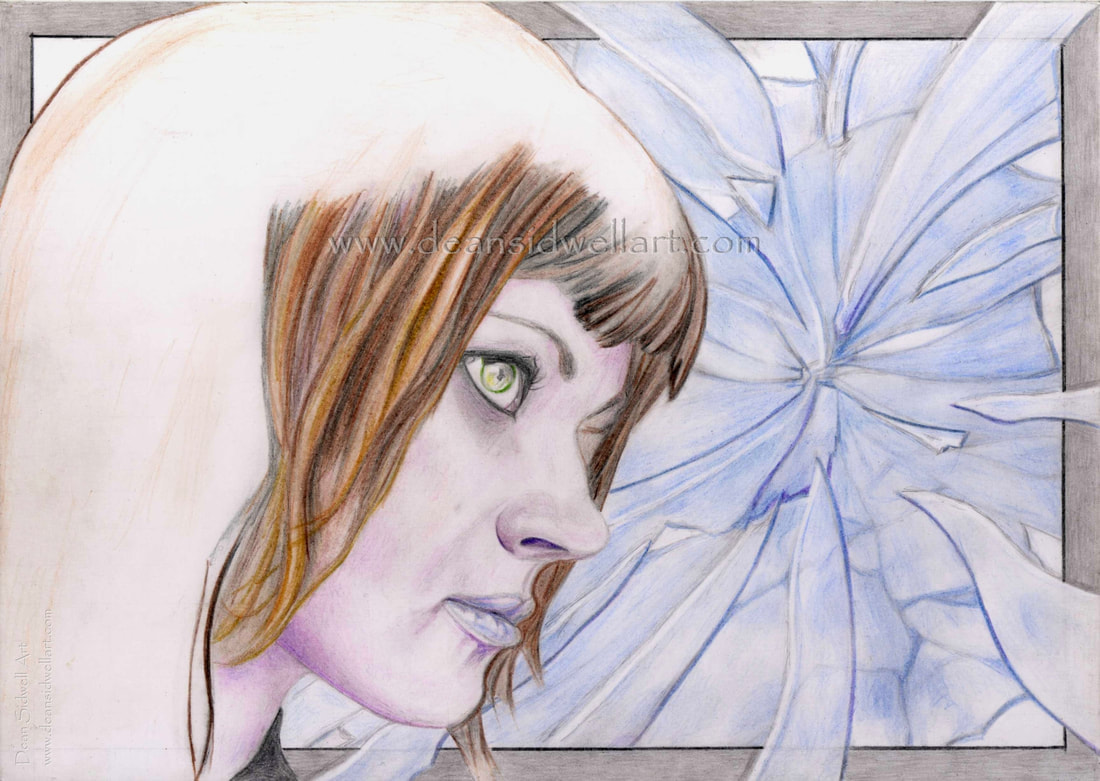
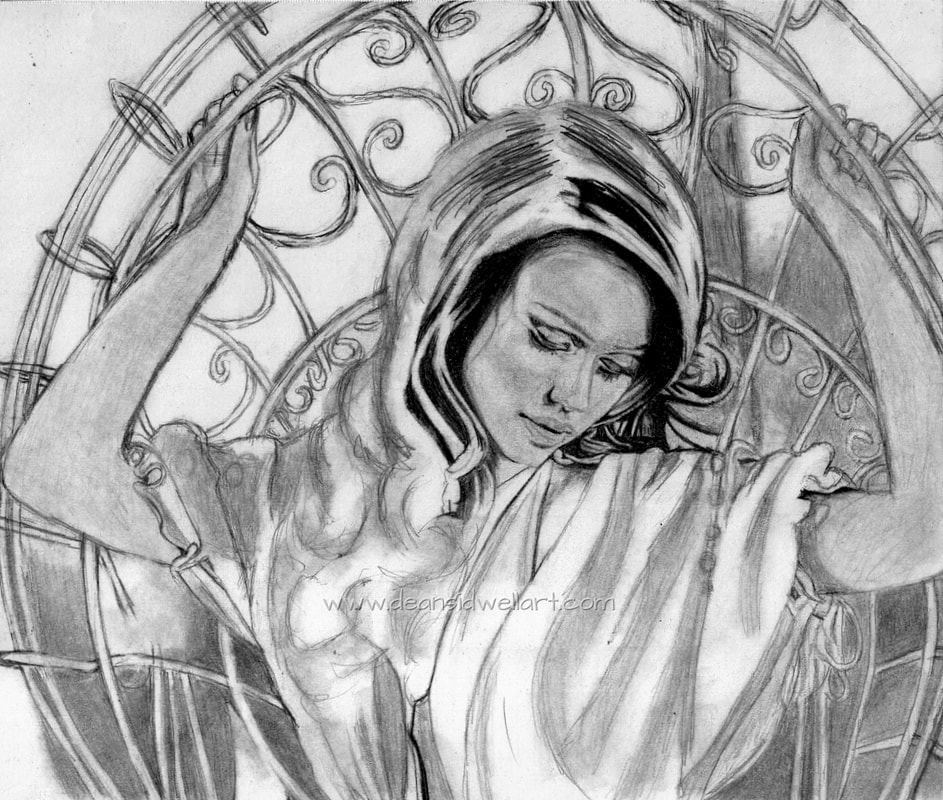
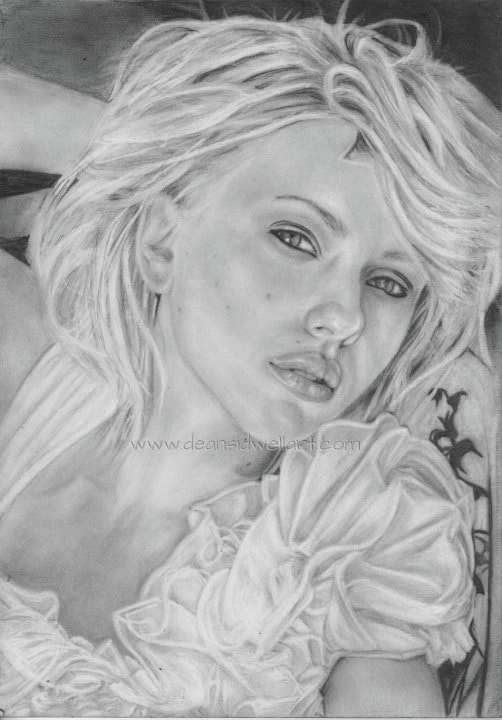
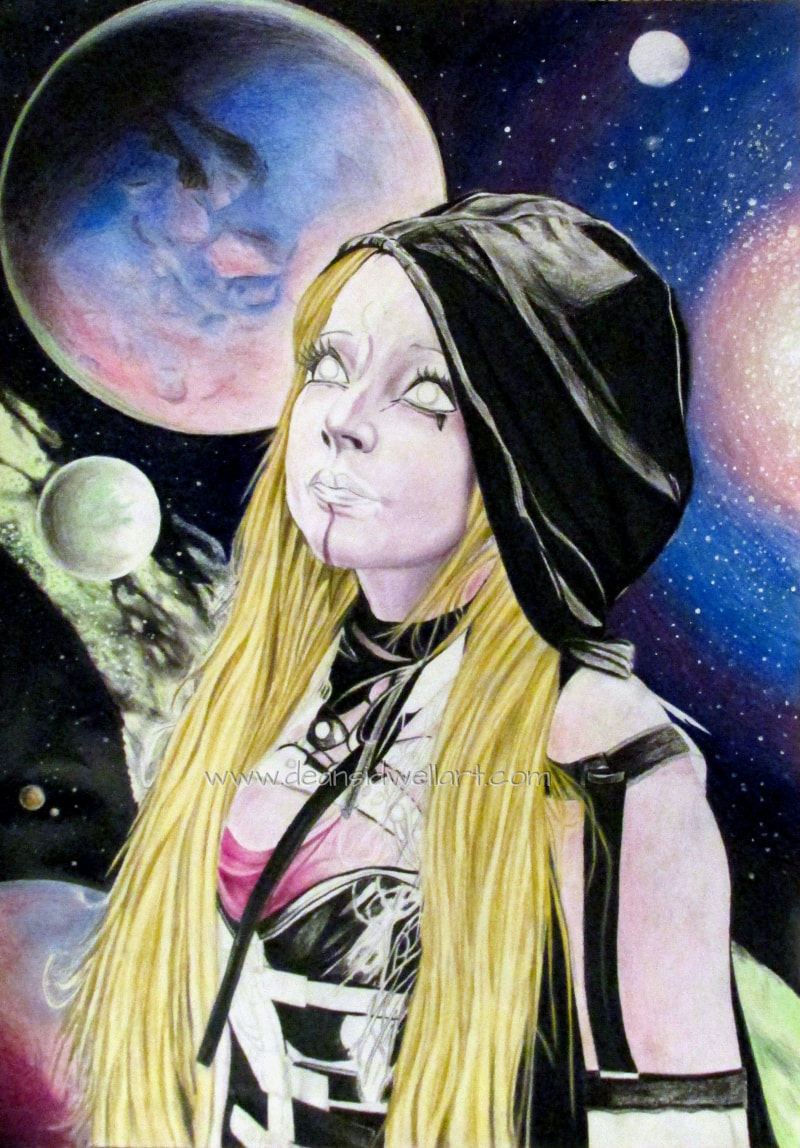
Materials used for Alice: A3 (42 x 29.7cm) 250gsm extra smooth Bristol board. Various grades of pencil ranging from 4H to 5B. HB and 2B mechanical pencils (0.5mm). Blending stumps. Tissues and cotton buds. Putty eraser. Standard eraser.
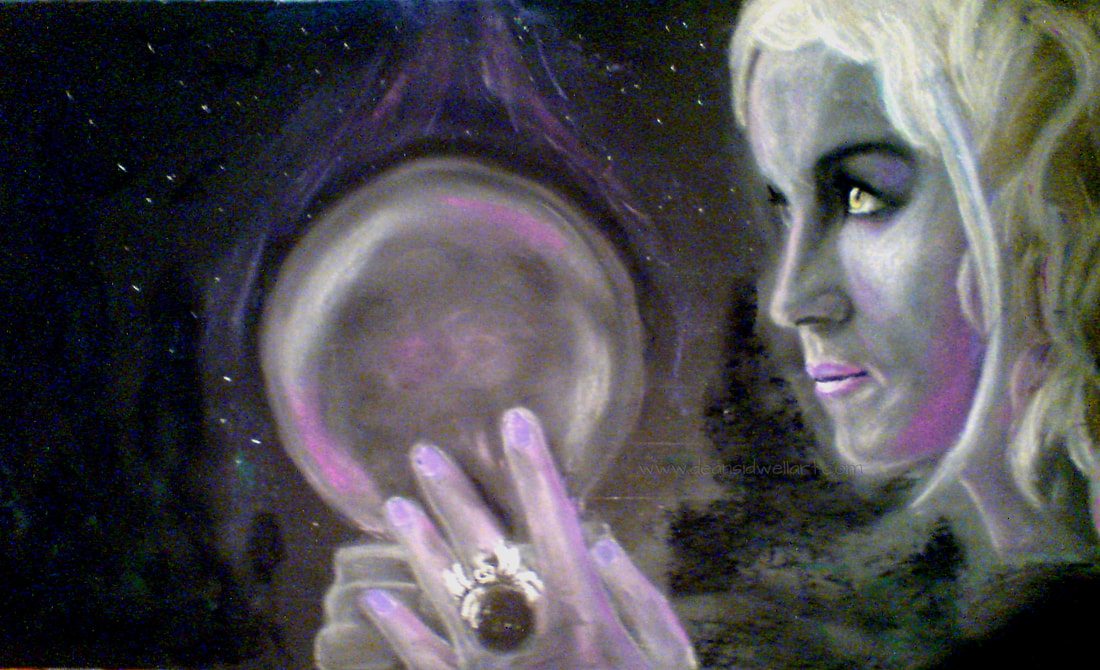
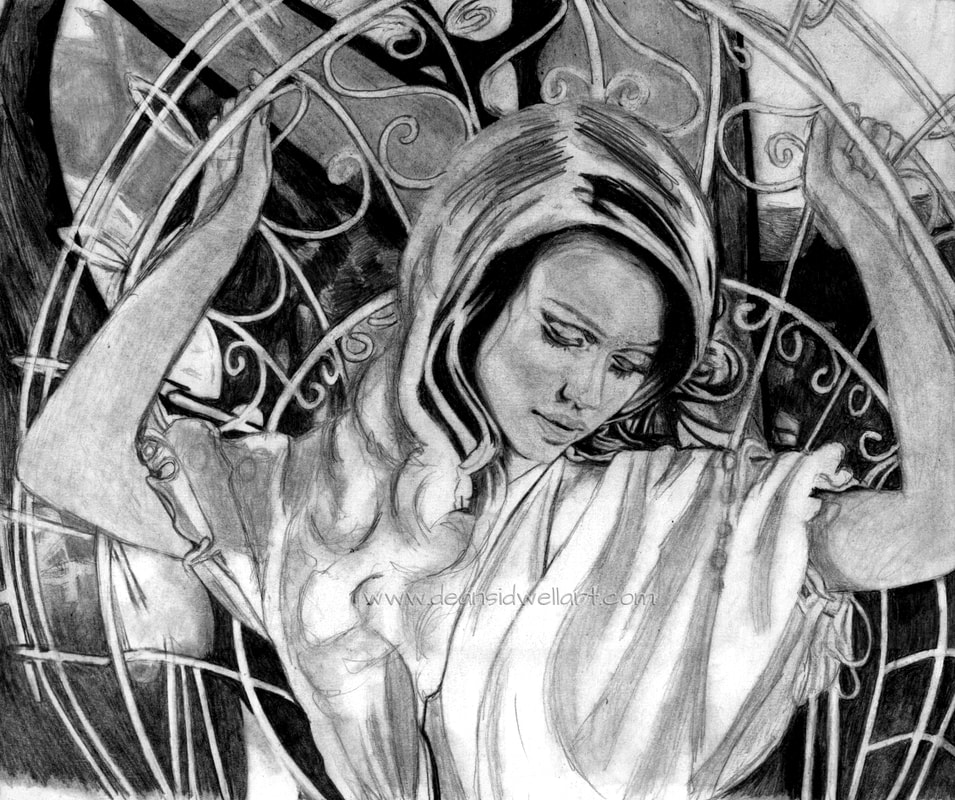
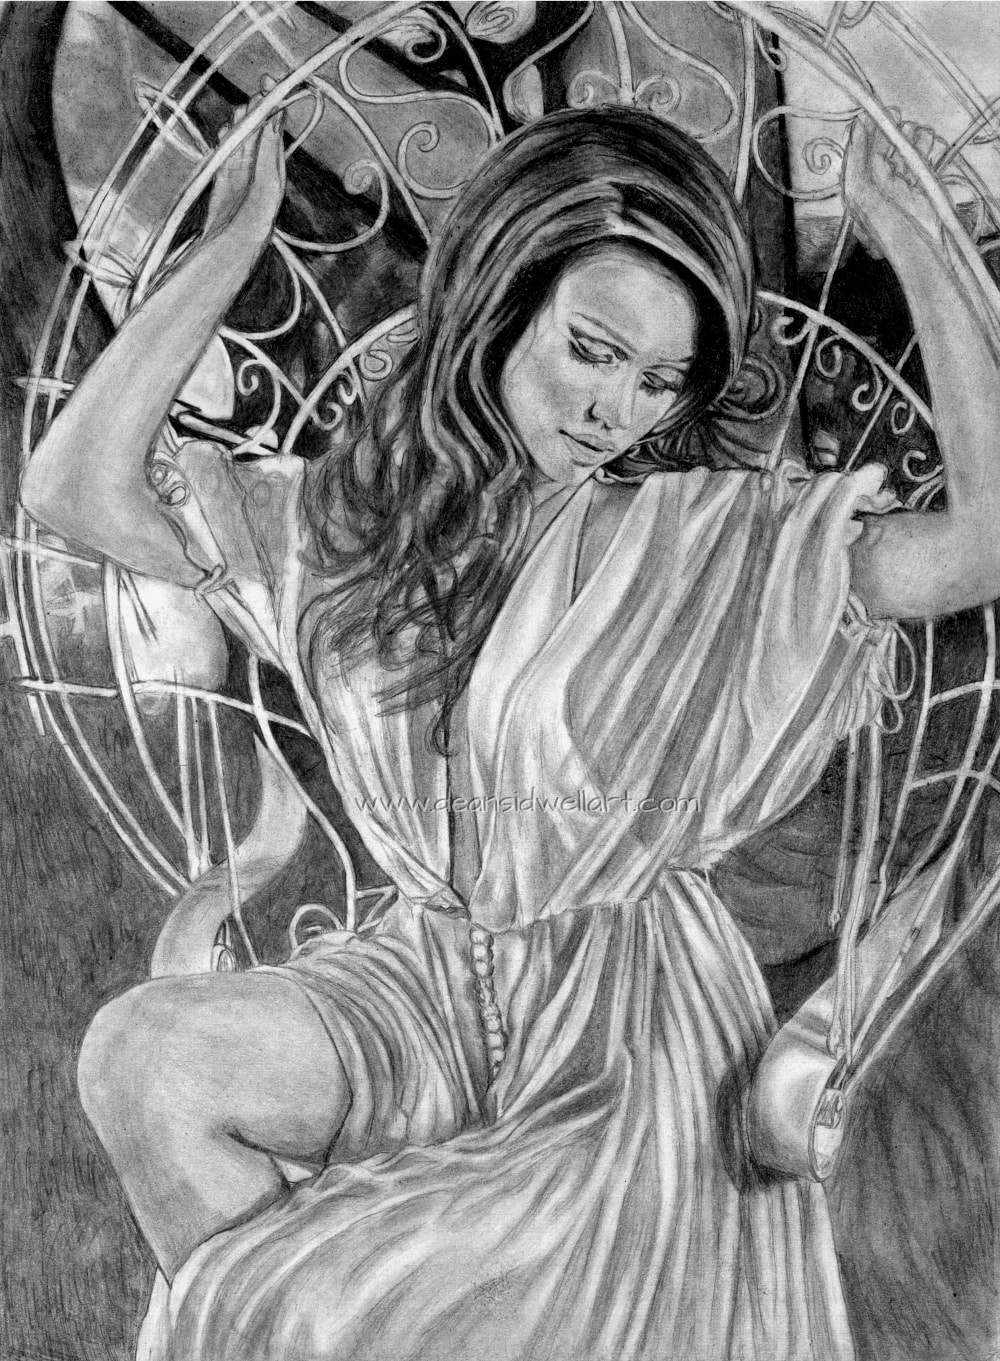
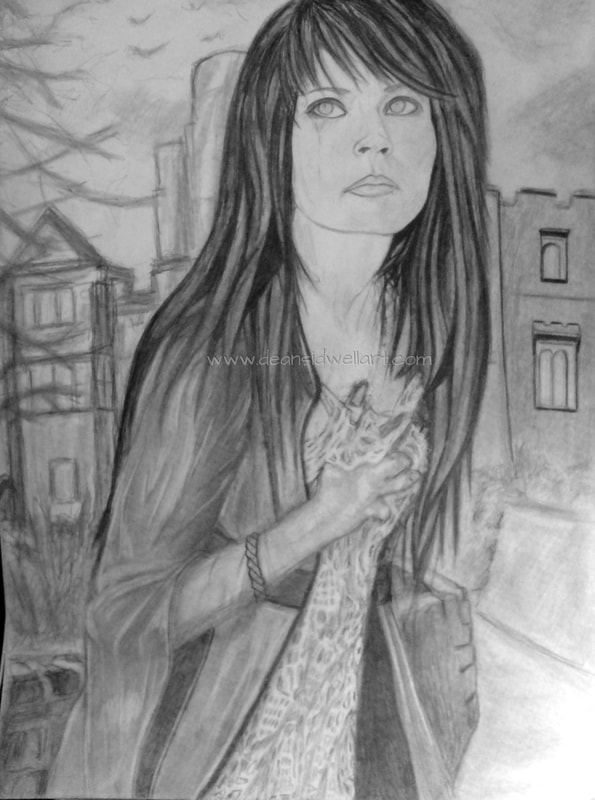
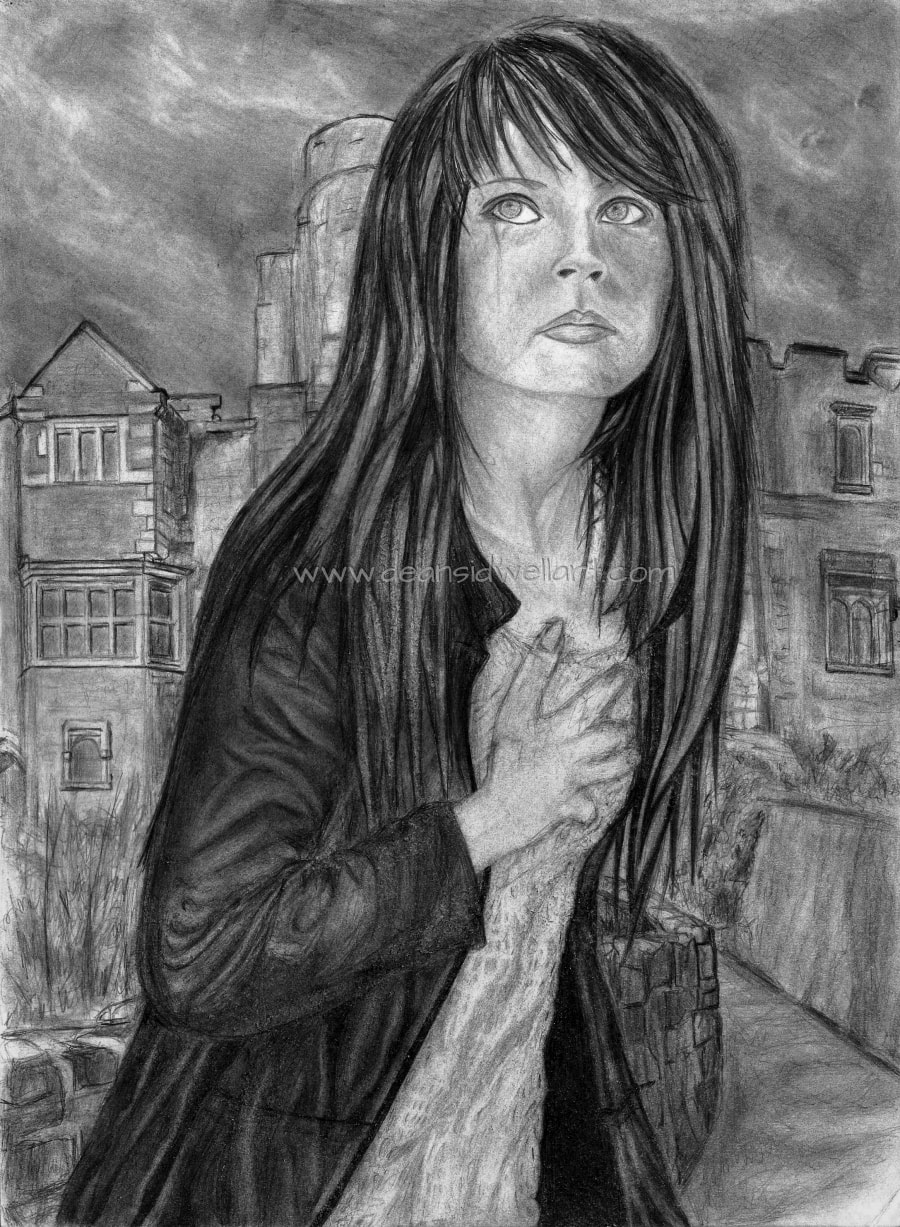
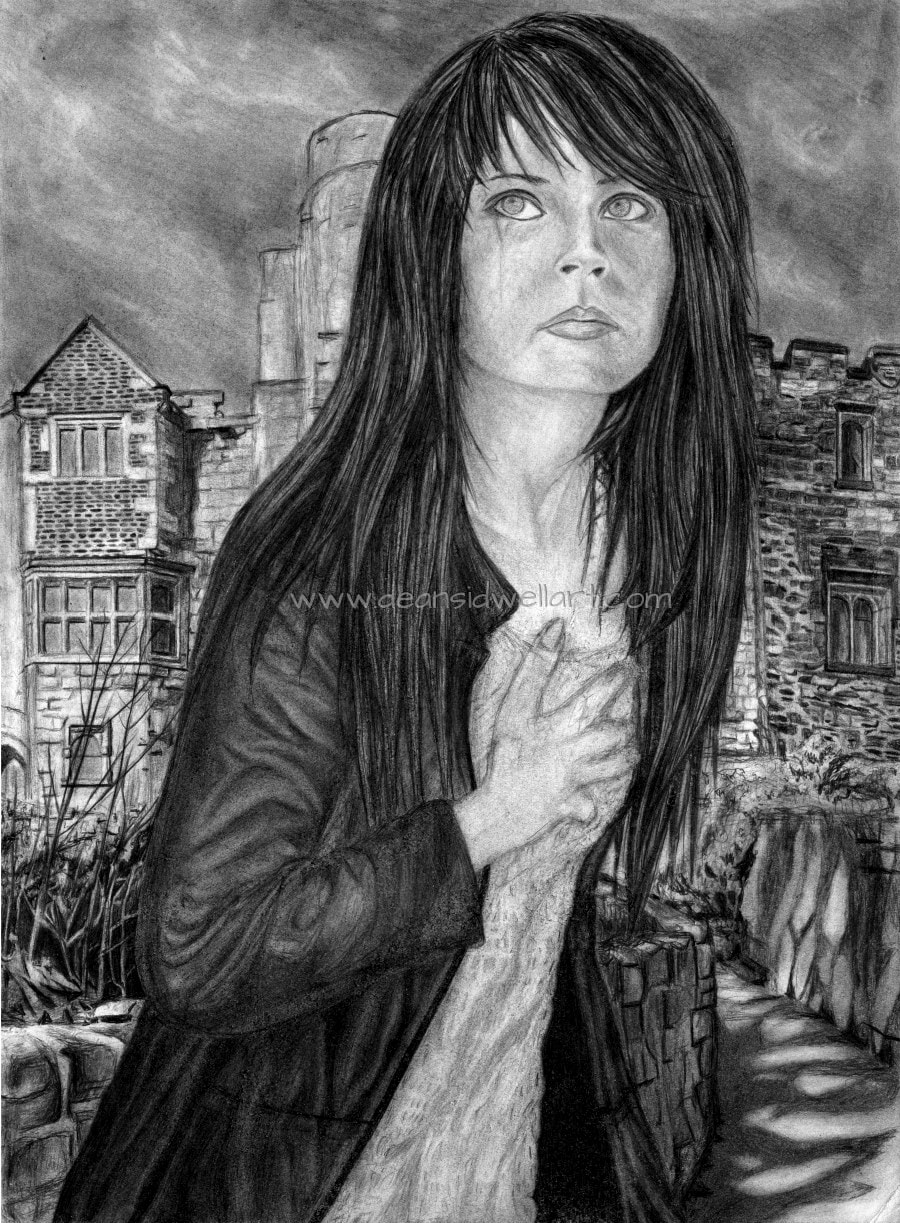
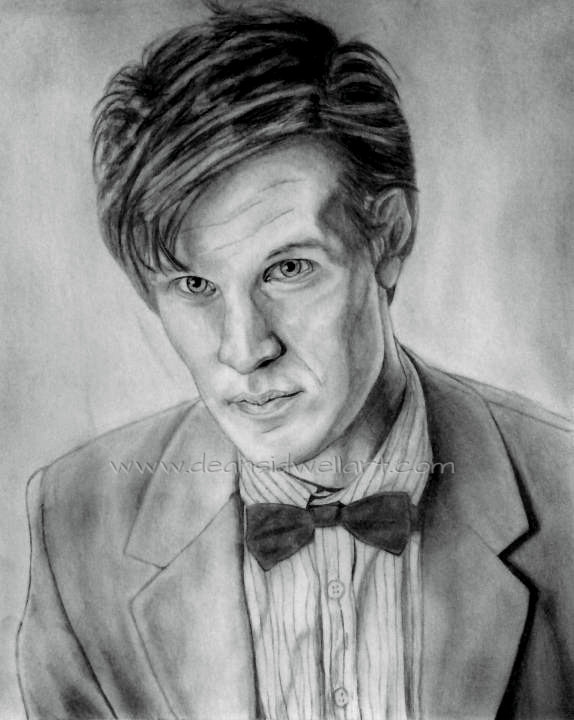
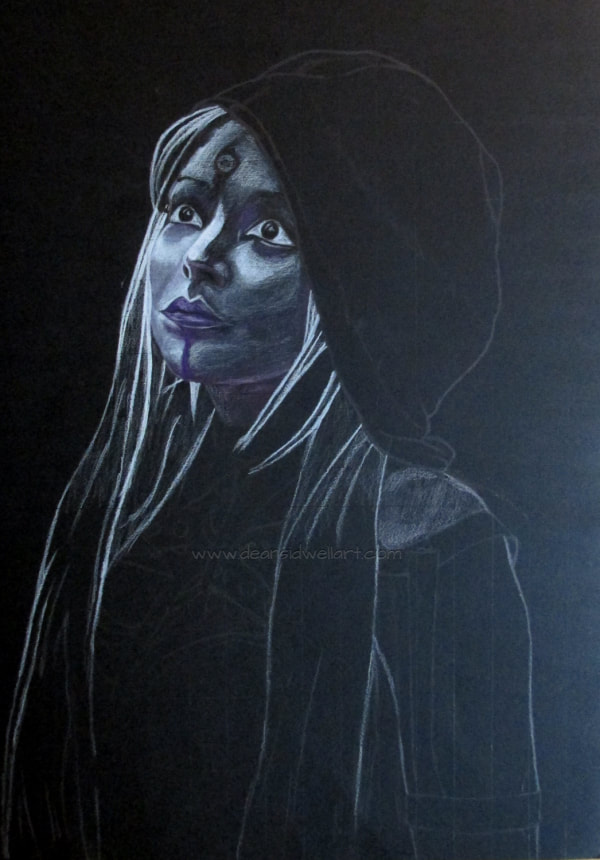
Materials used for Keeping Secrets: A4 smooth cartridge paper(220gsm),HB & 2B mechanical pencils & various grades of pencil from 2h to 5B.
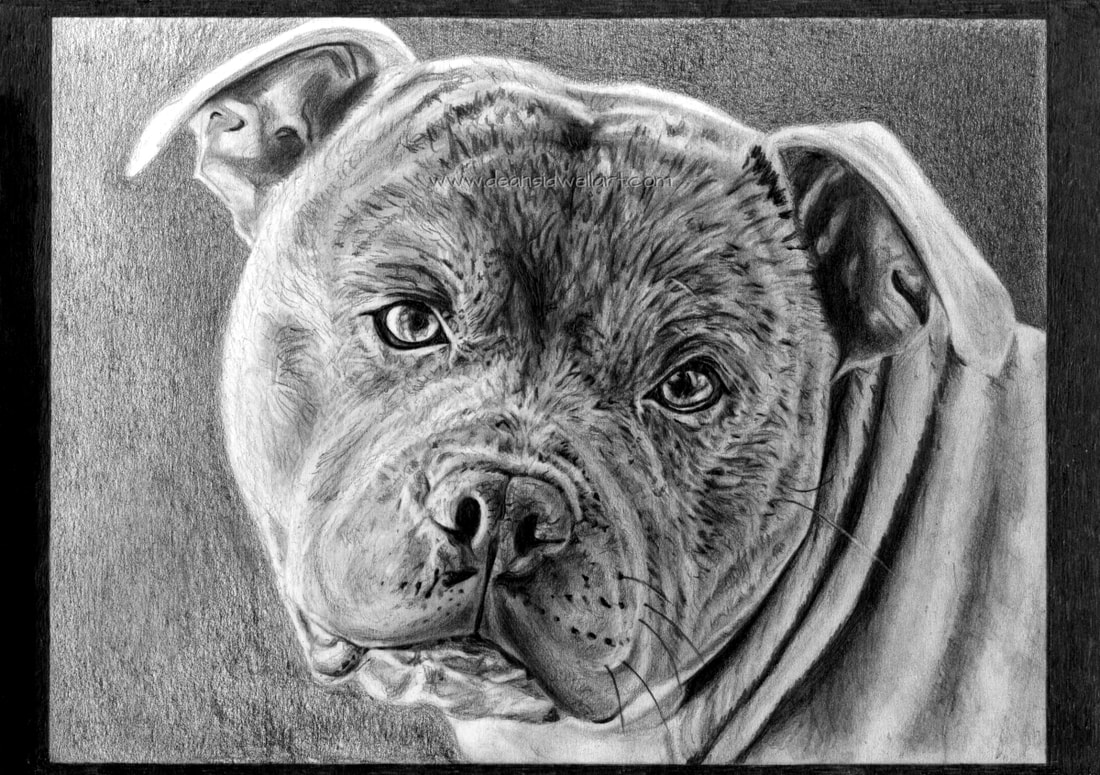
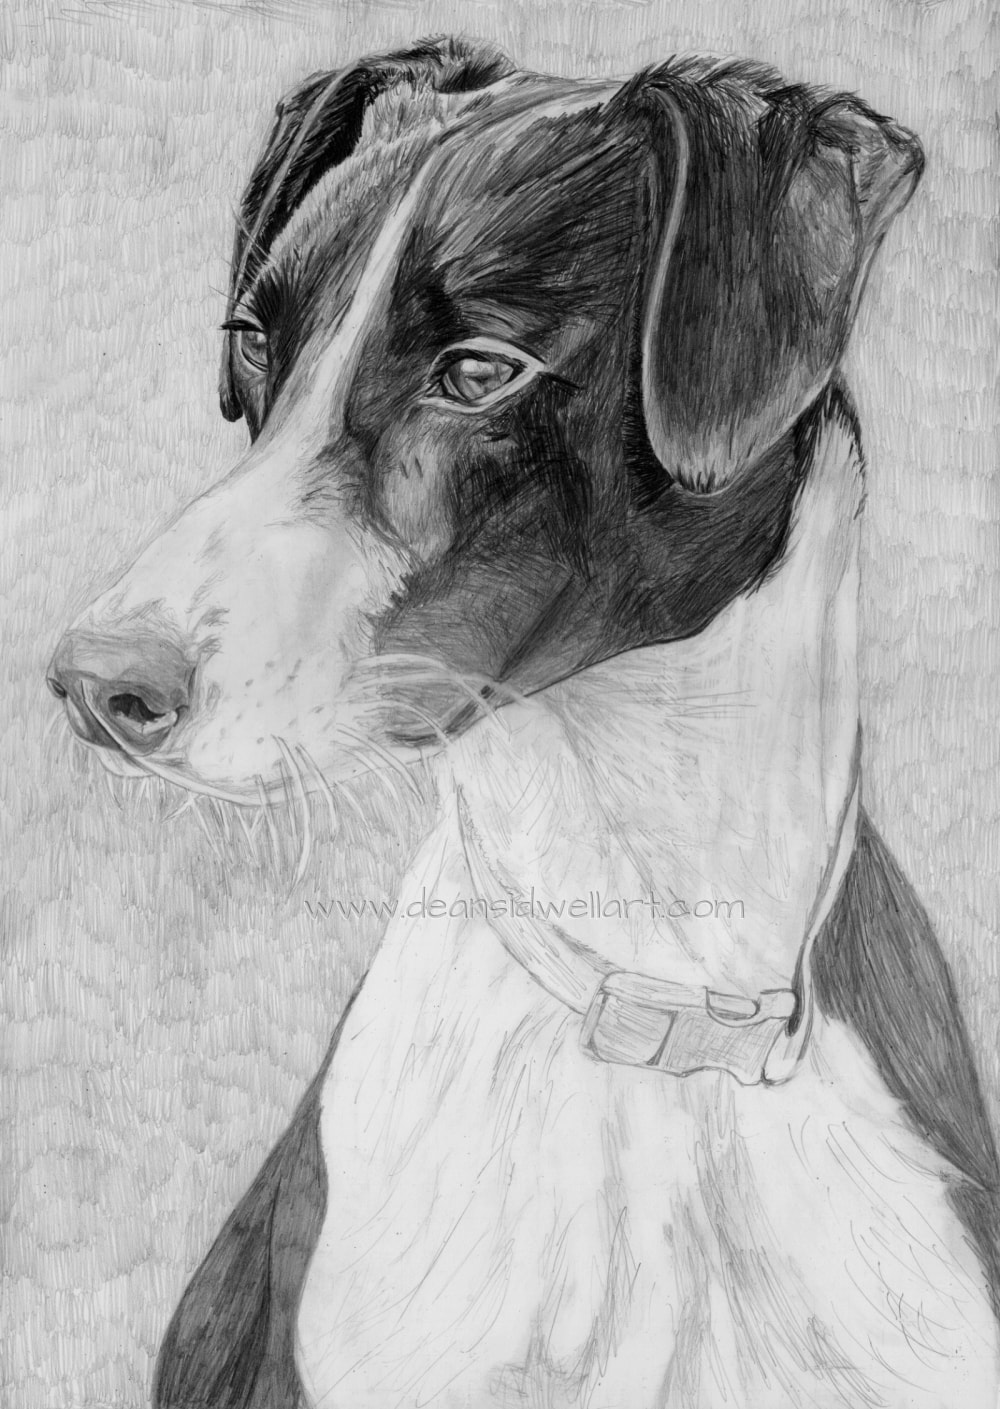
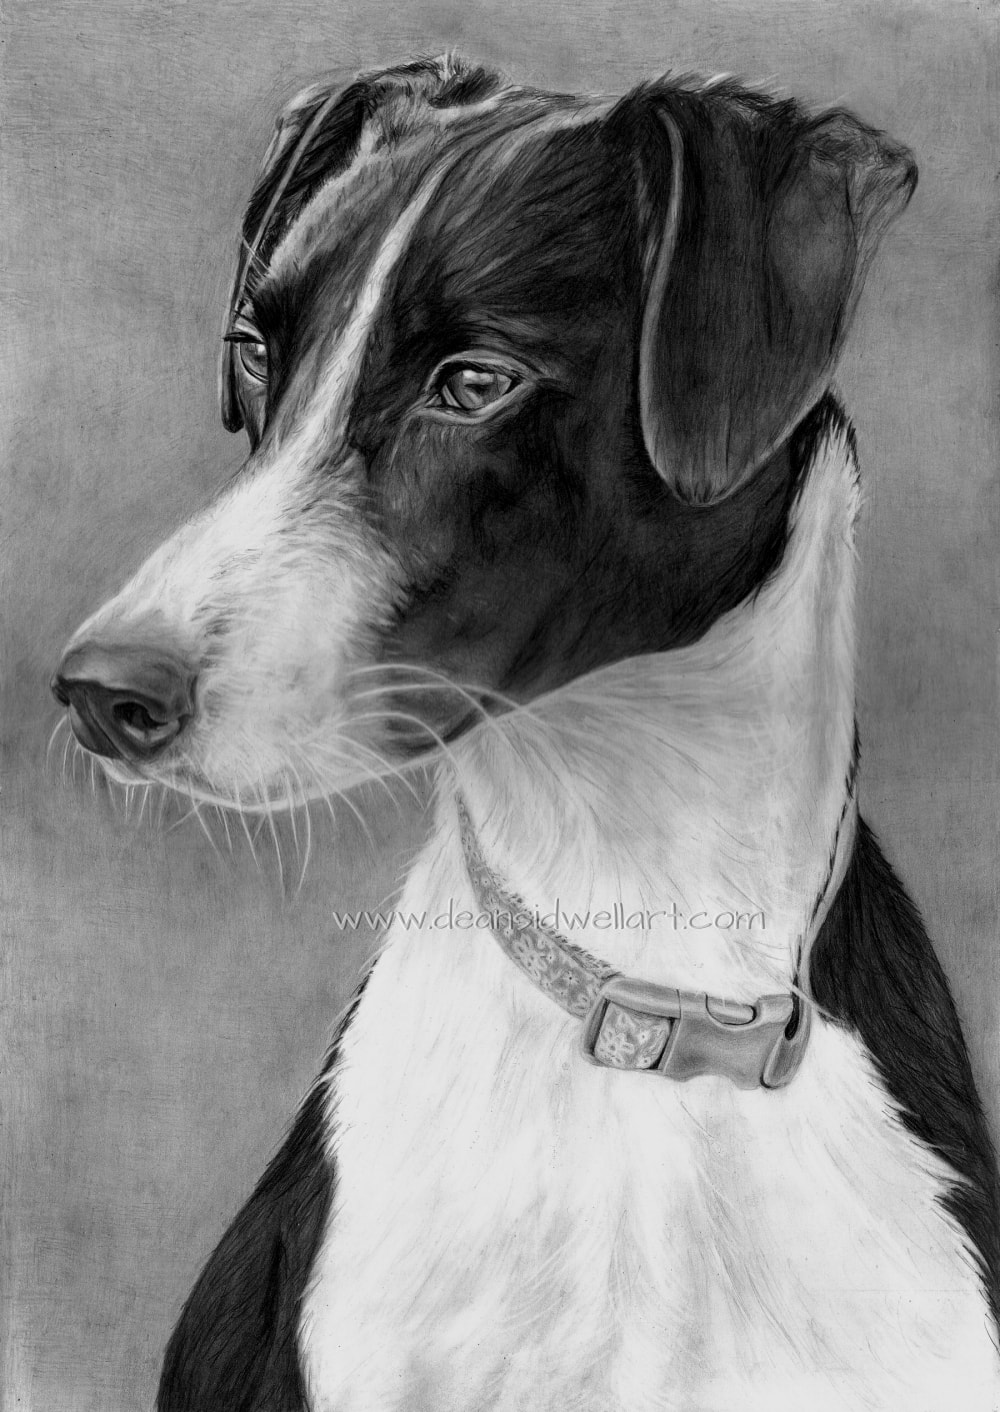
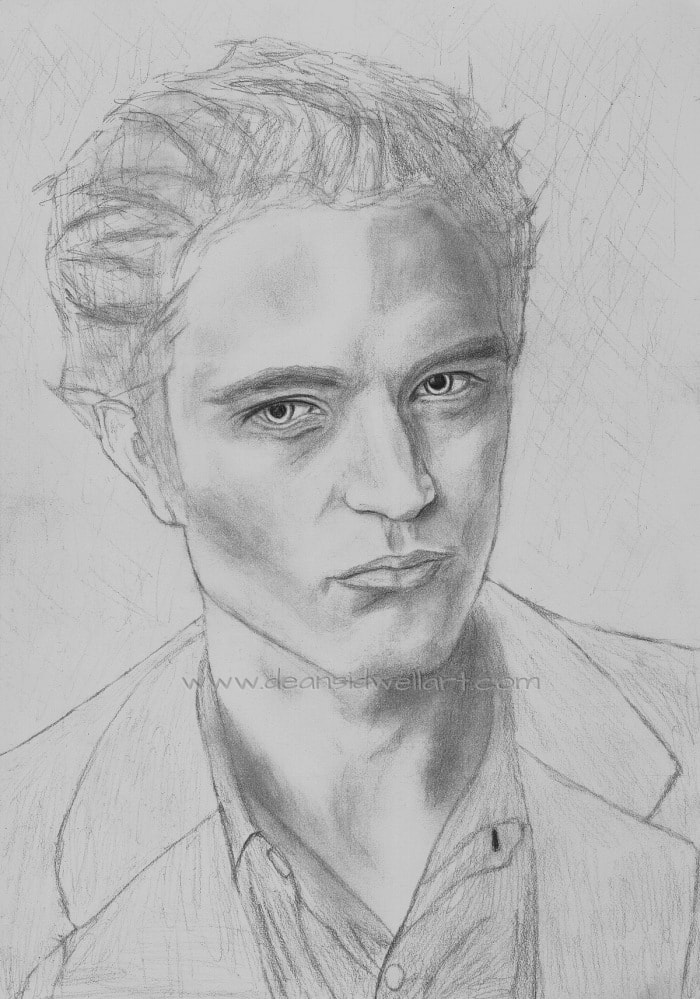
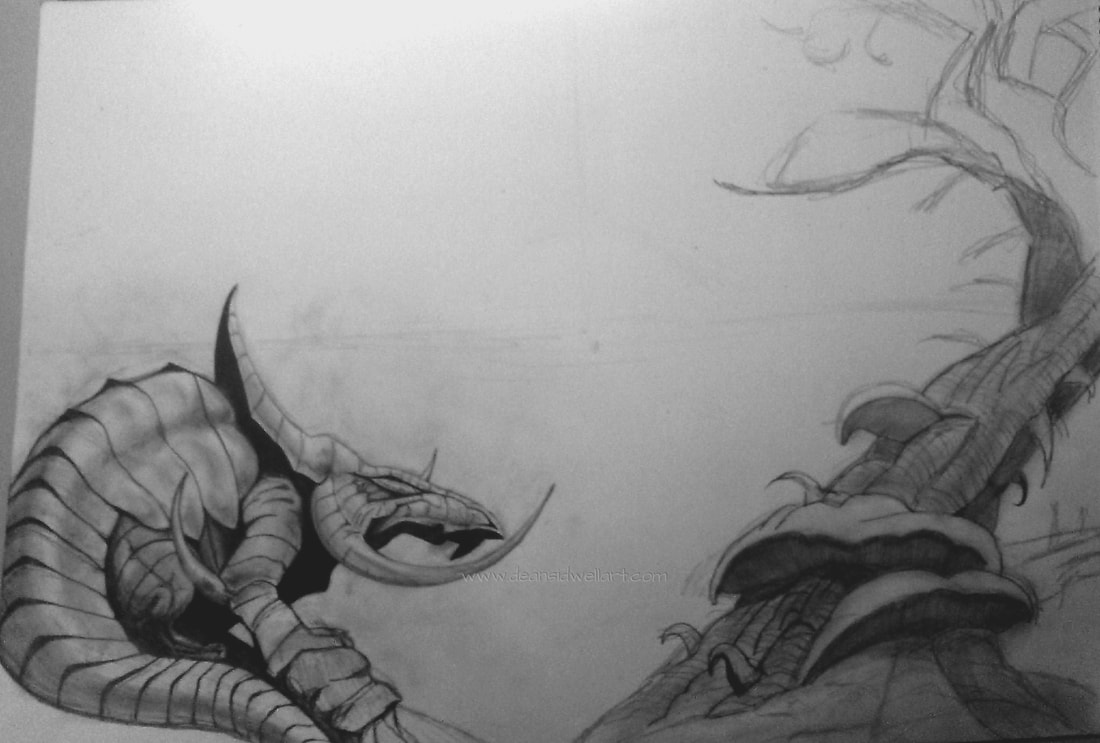
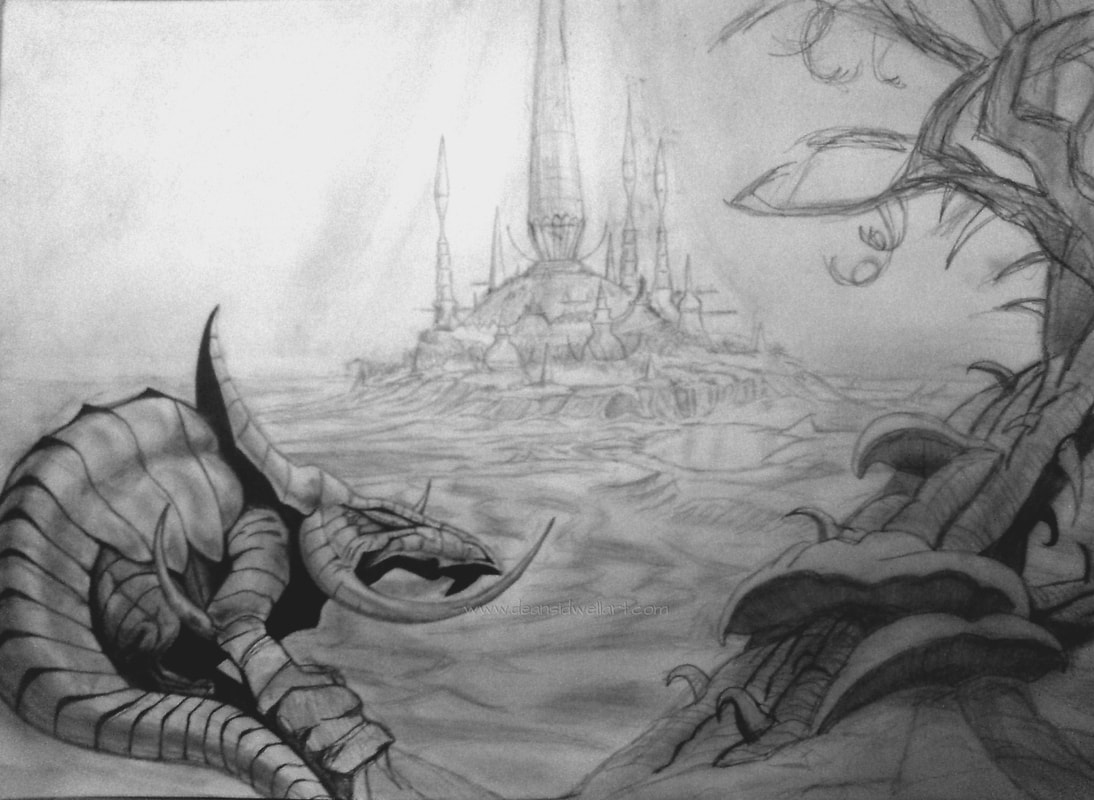
Materials used: A4 cartridge paper, HB & 2B mechanical pencils, various other grades of pencil, blending stumps, cotton buds & erasers.
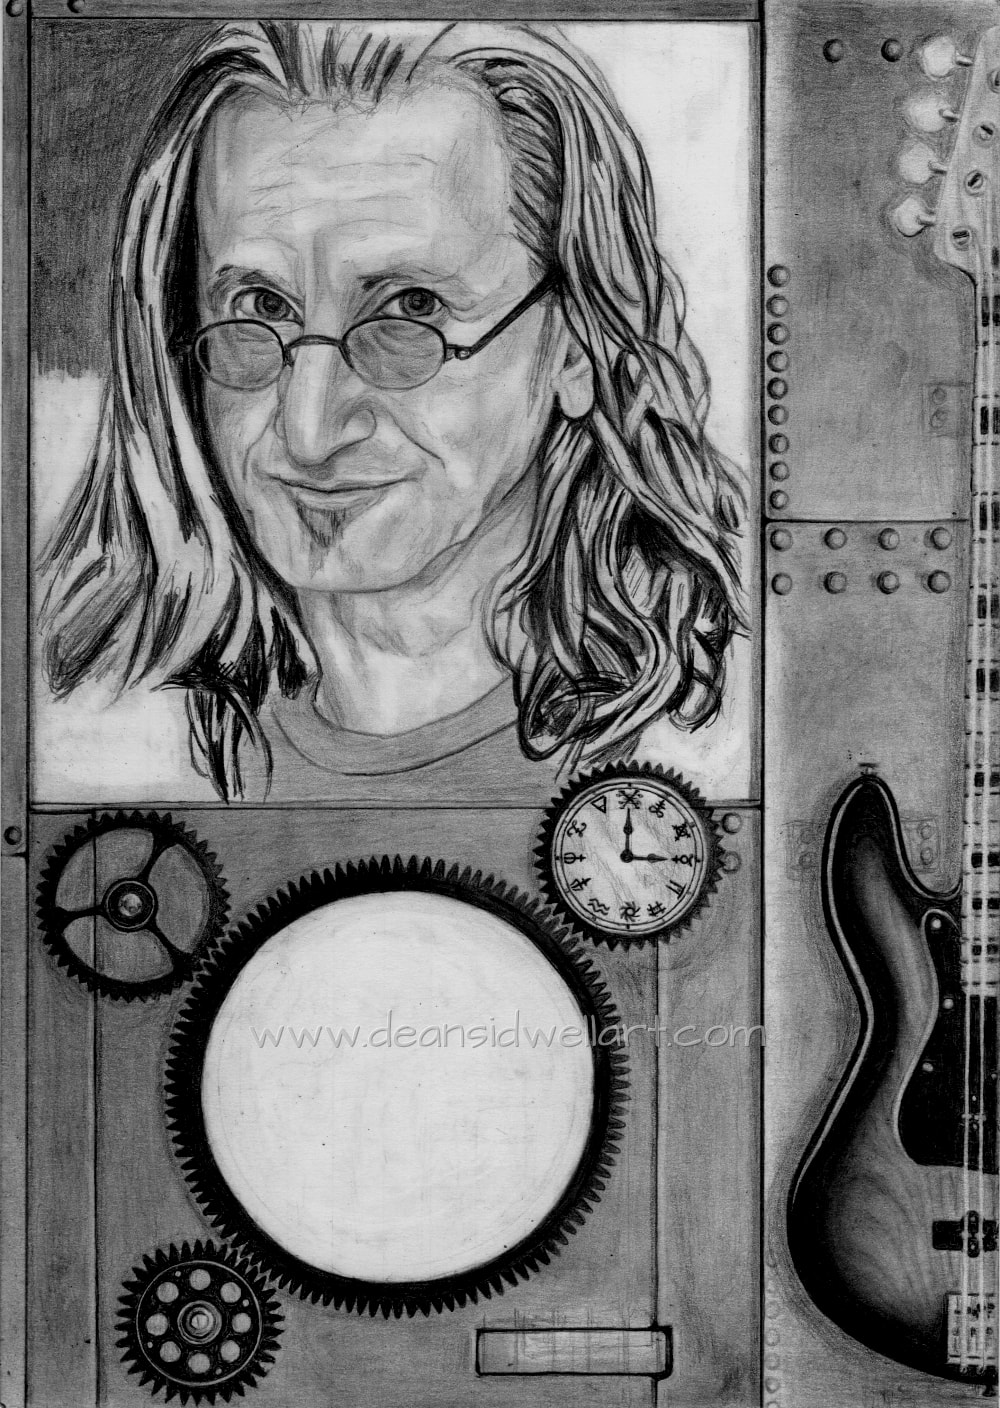
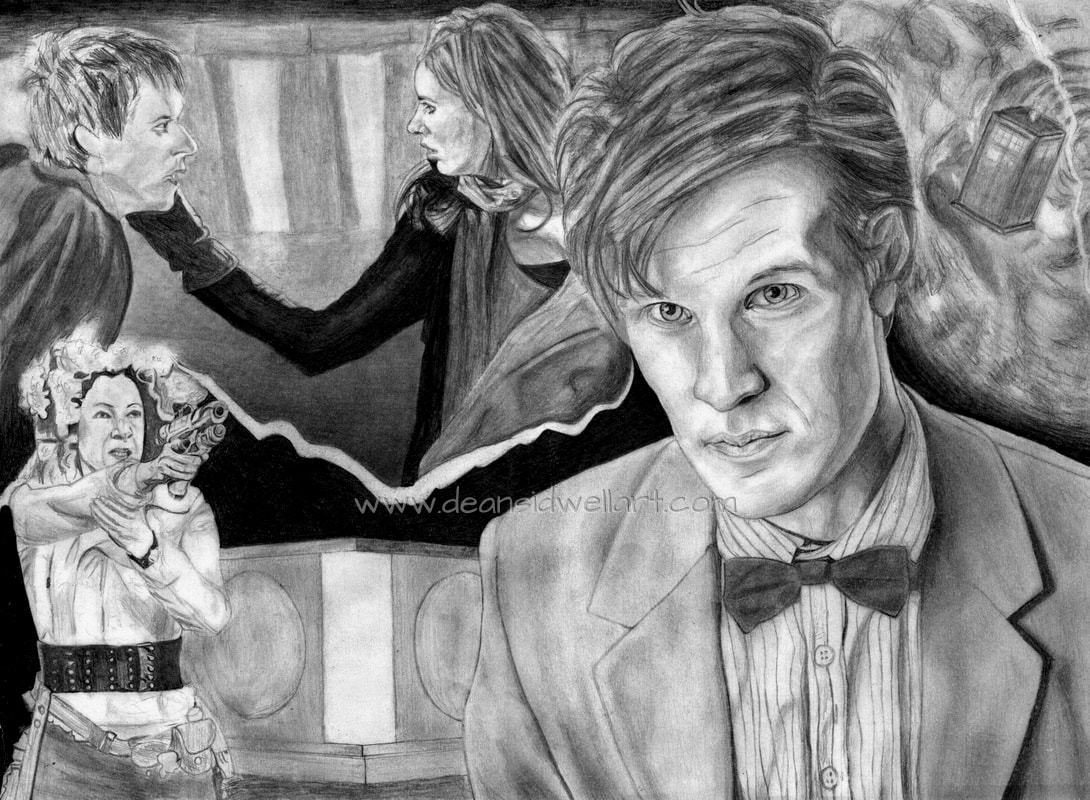
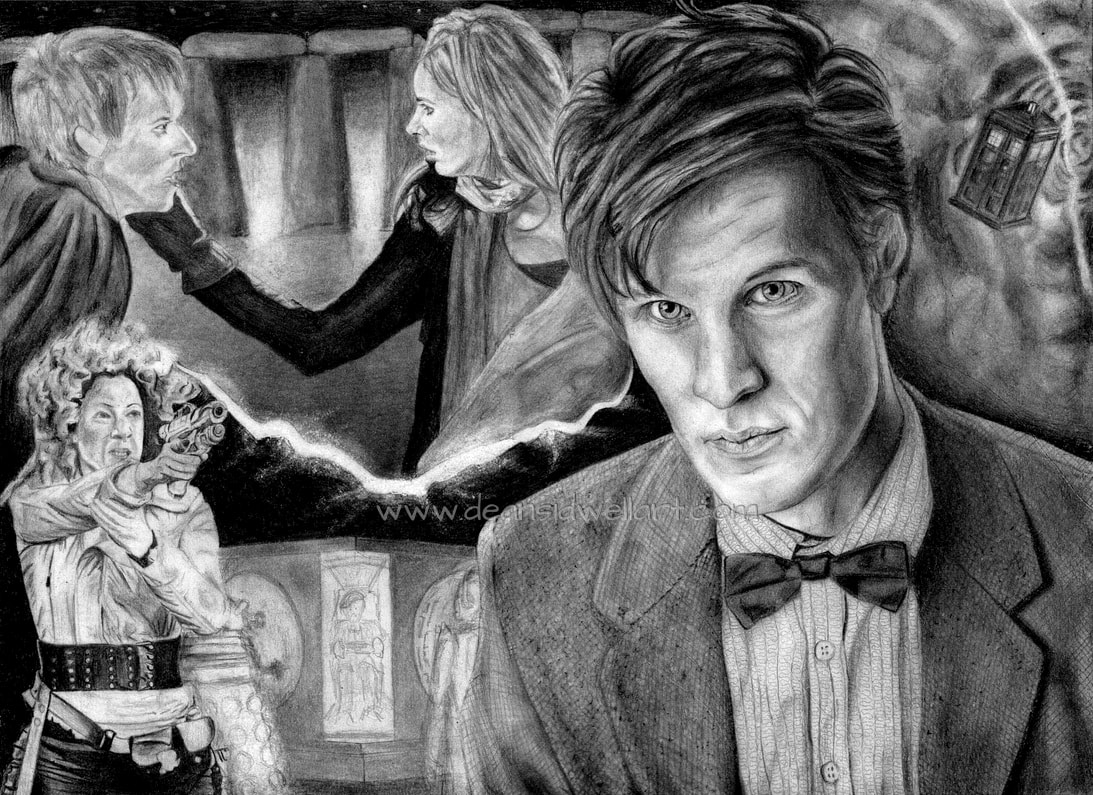
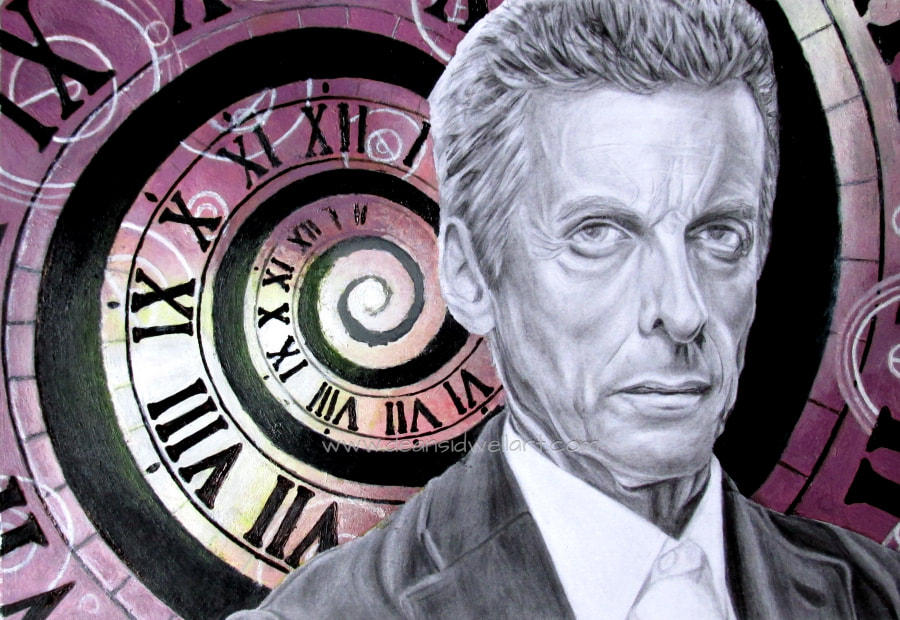
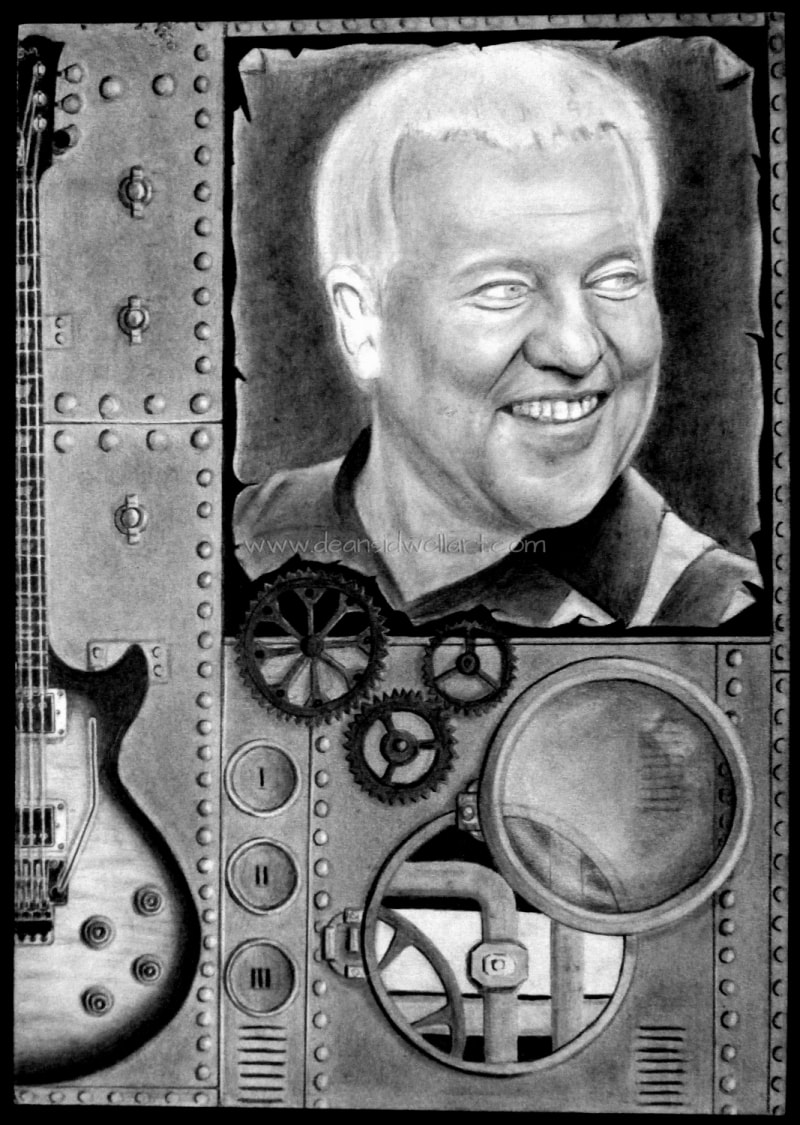
Materials used to draw Doctor Who - The Pandorica: Size A3 cartridge paper (420mm x 297mm),.HB and 2B 5mm mechanical pencils, HB 7mm mechanical pencil, various different grades of pencil ranging from 2H – 5B, blending stumps, tissues, kneaded & normal erasers.
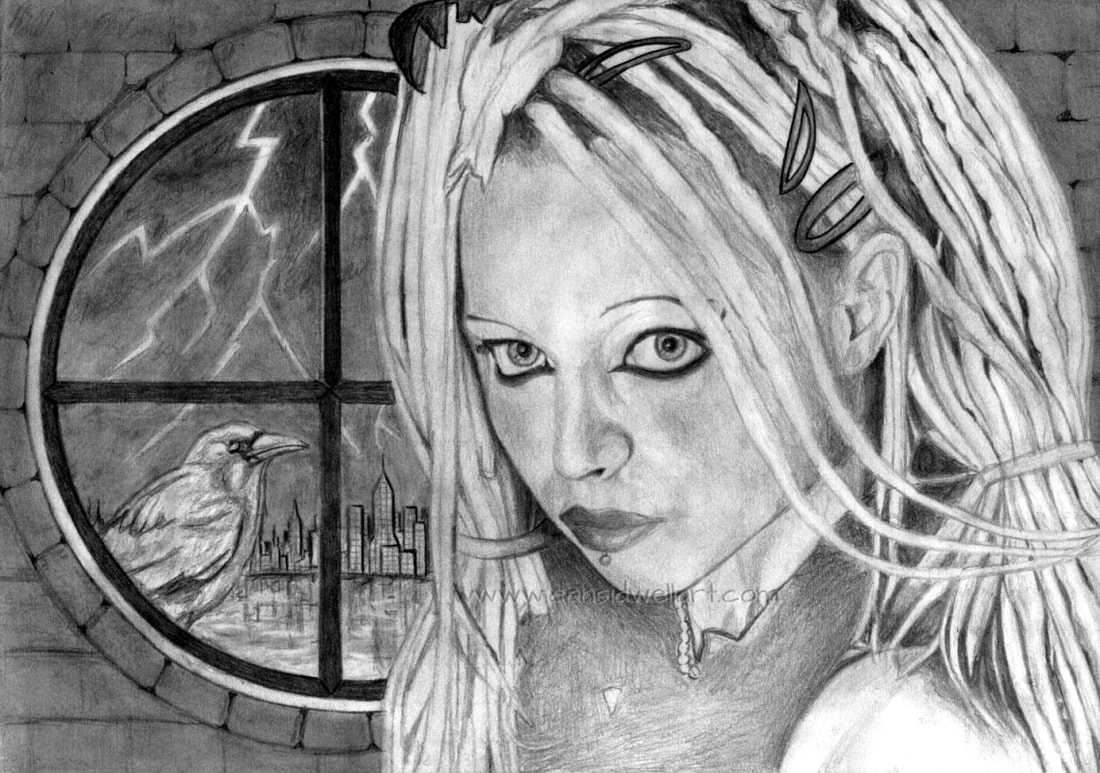
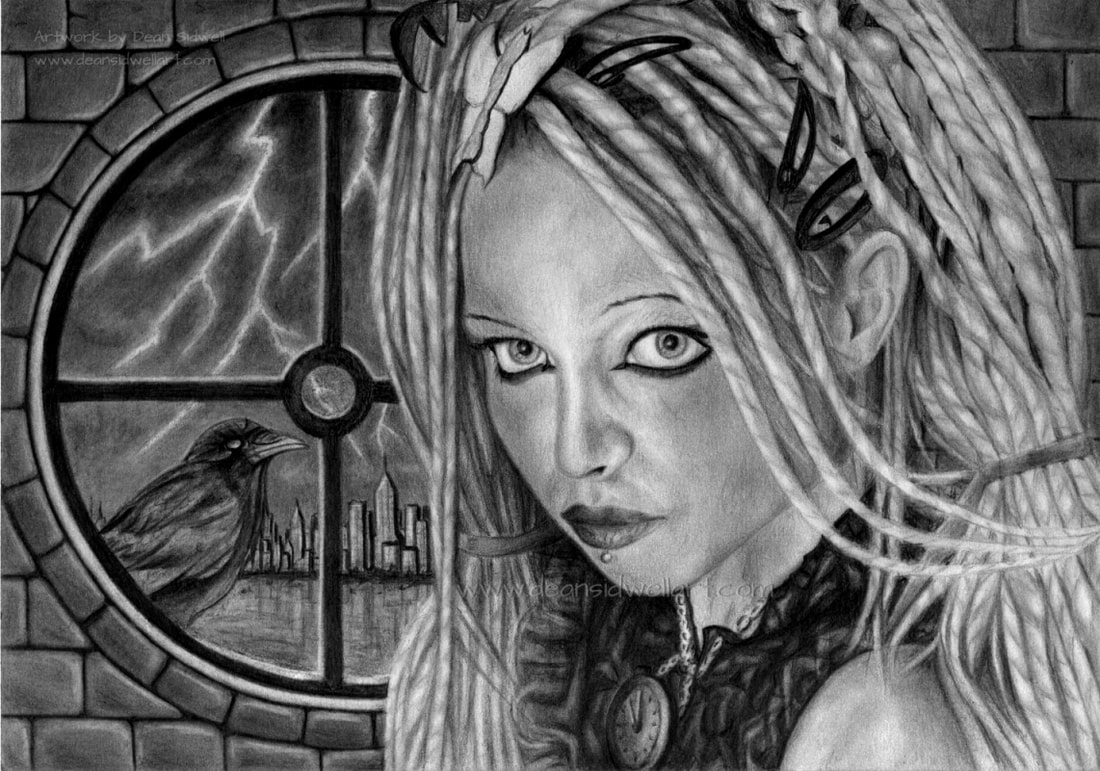
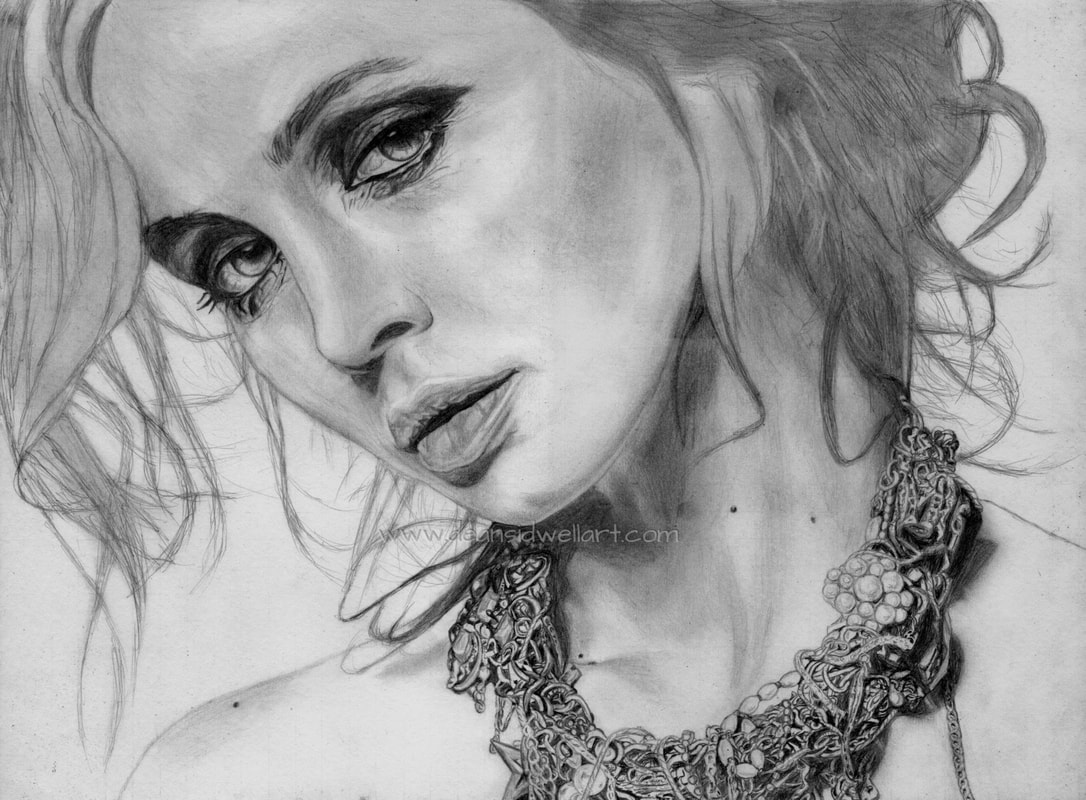
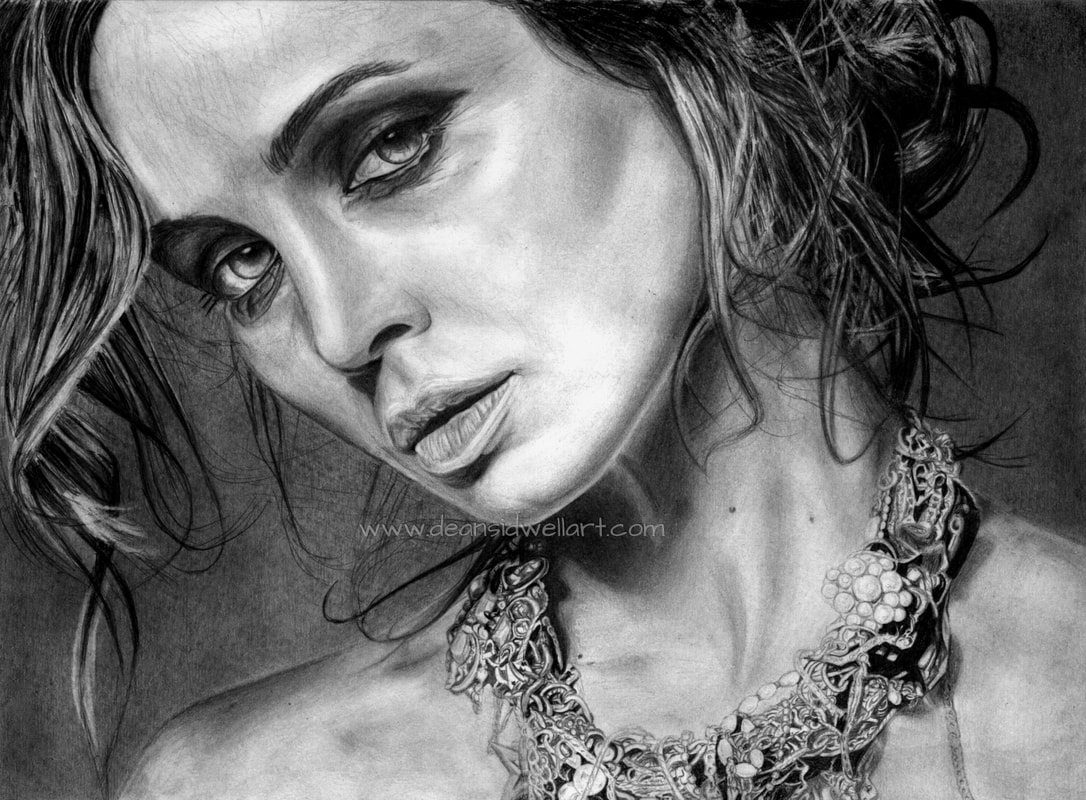
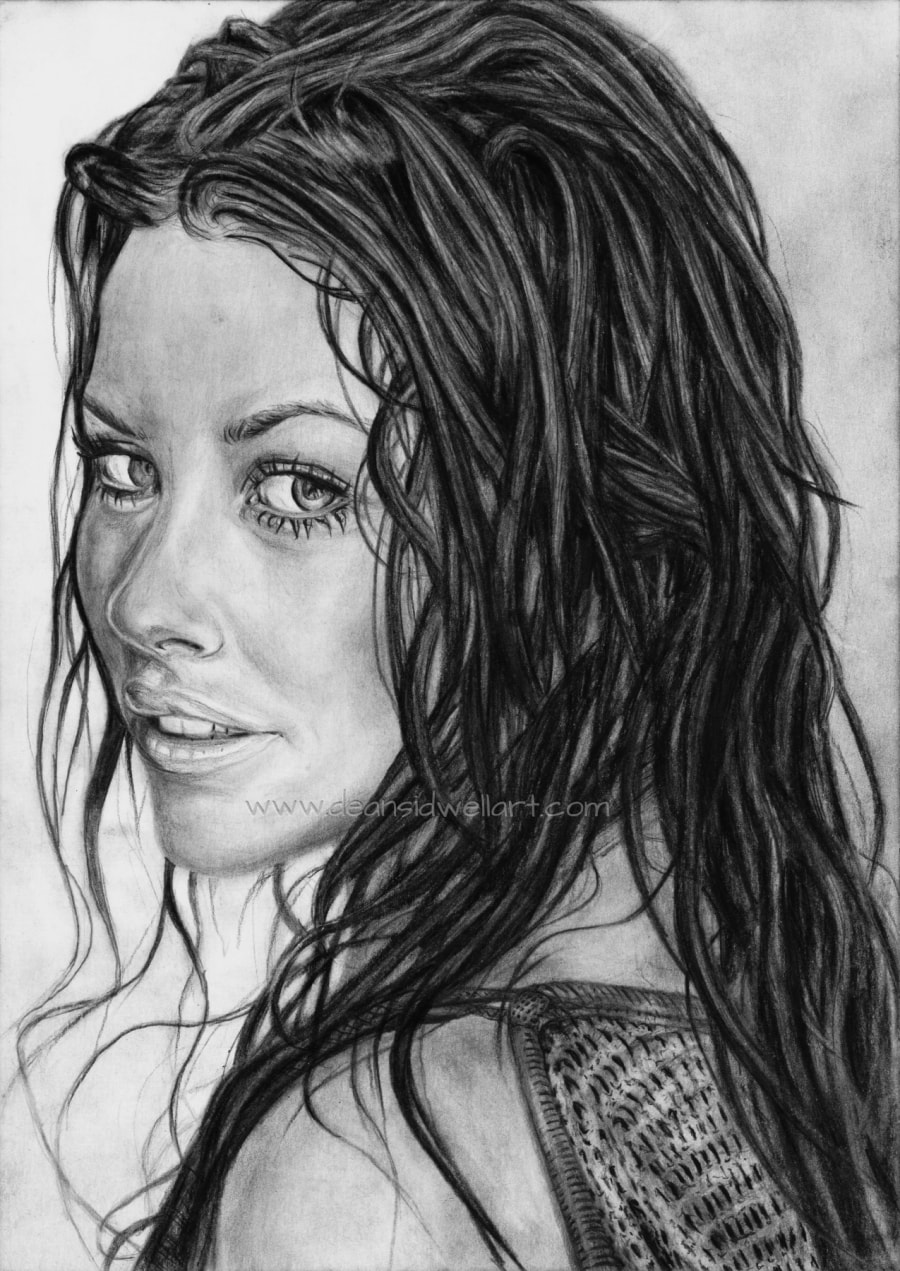
Materials used to draw Eliza: HB & 2B 5mm mechanical pencil, HB 7mm mechanical pencil, various grades of pencil ranging from 2H – 5B, blending stumps, tissues, kneaded & normal erasers, eraser pencil. Drawn on A3 cartridge paper (42x29.7cm).
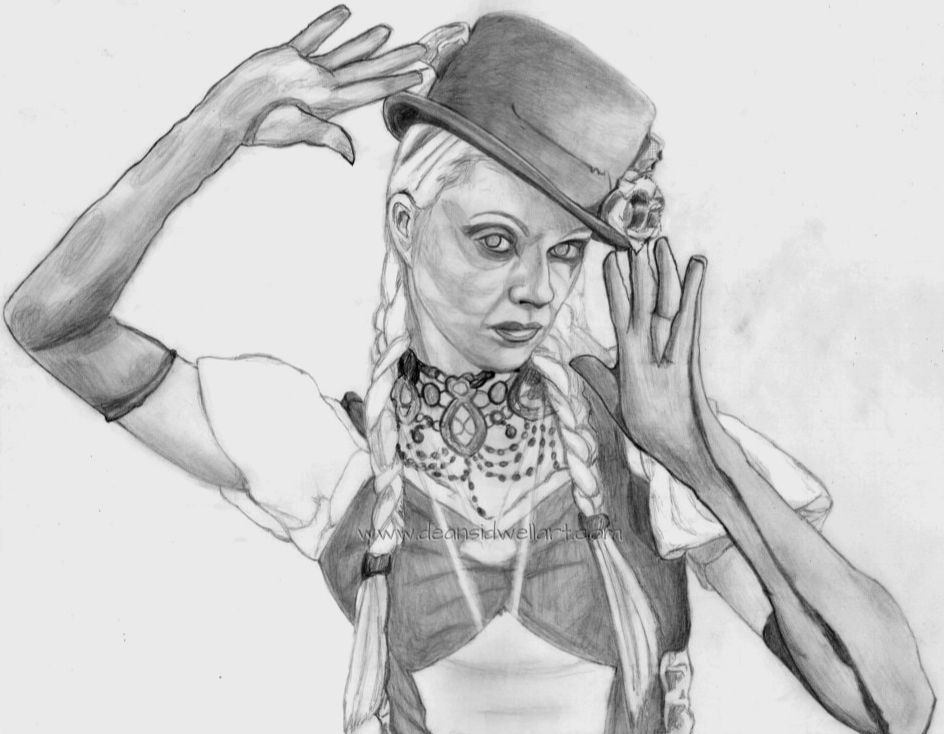
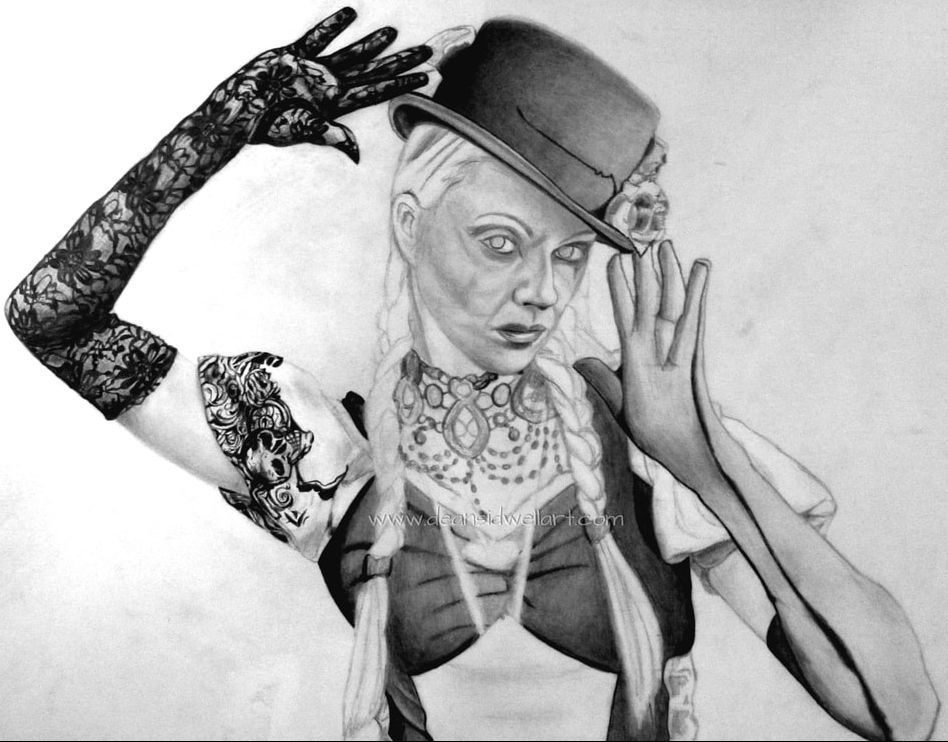
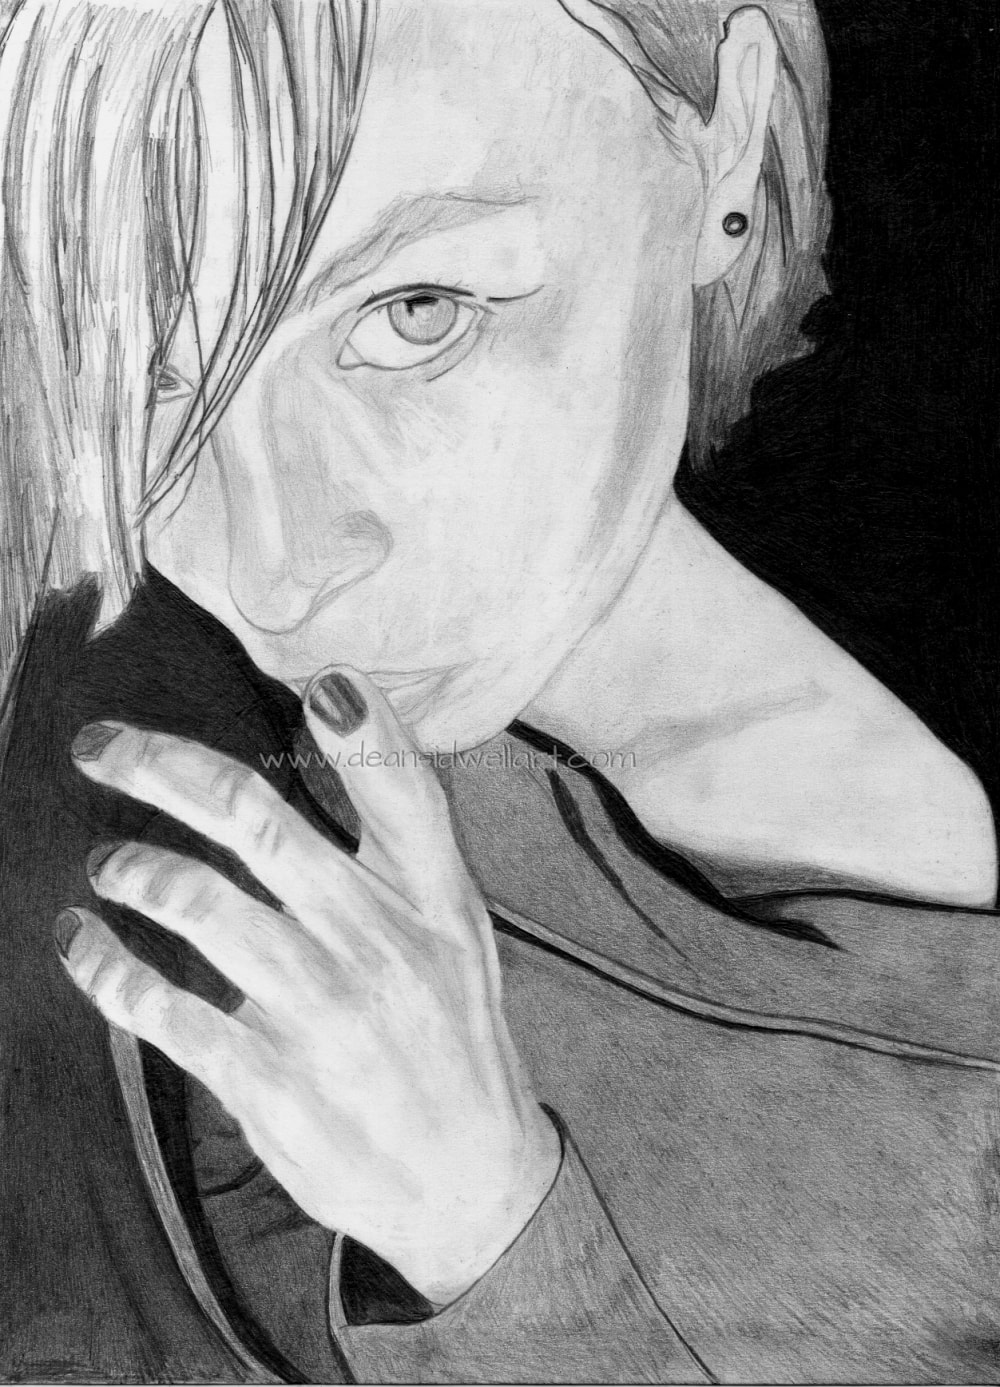
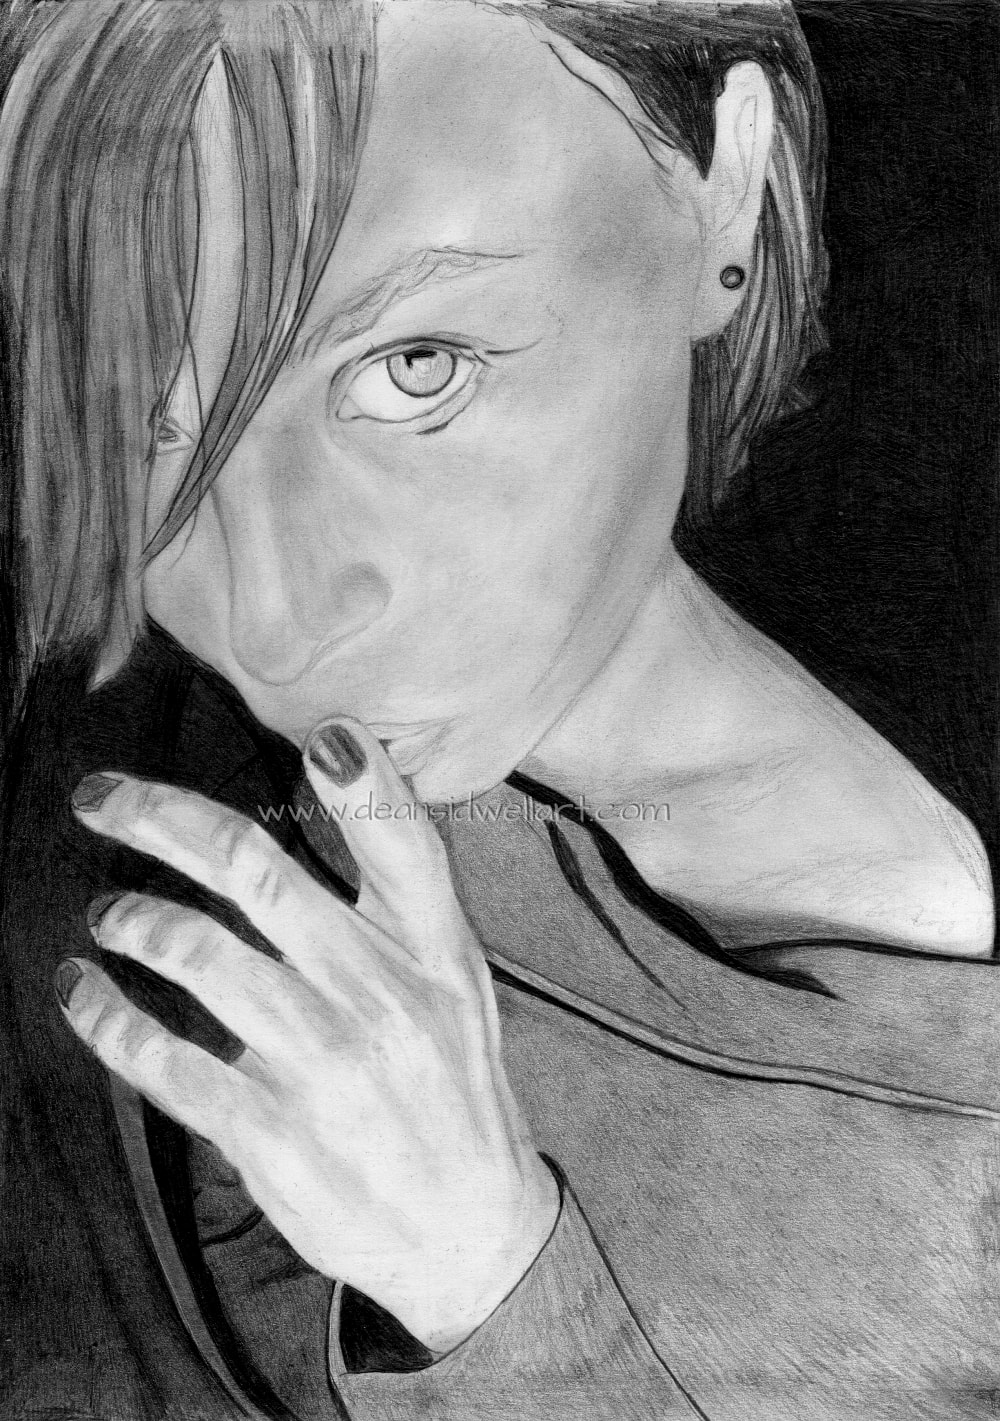
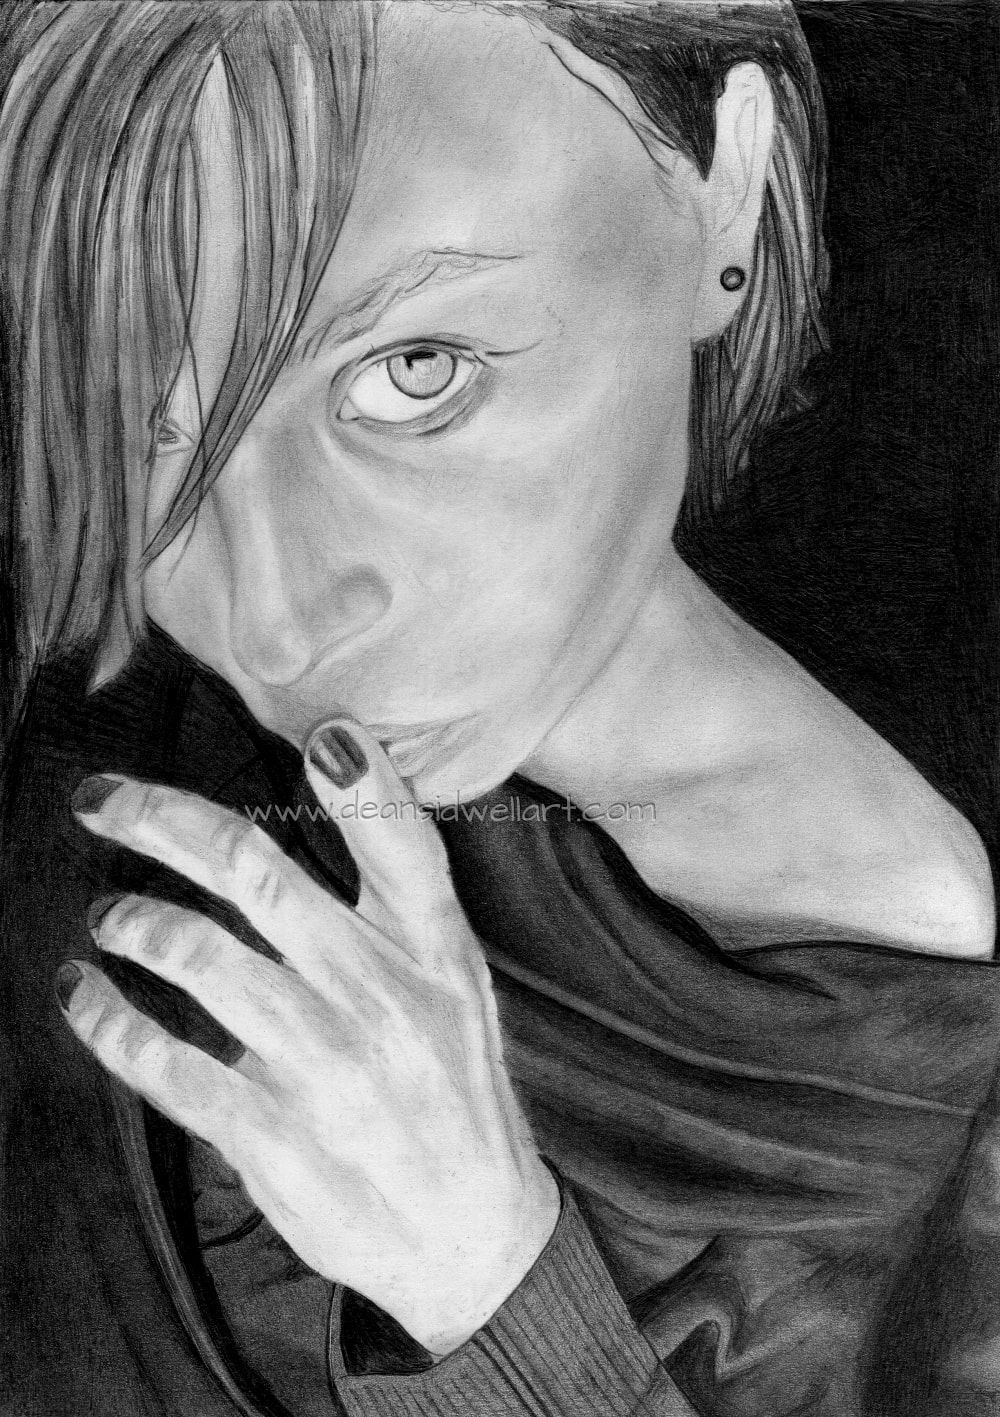
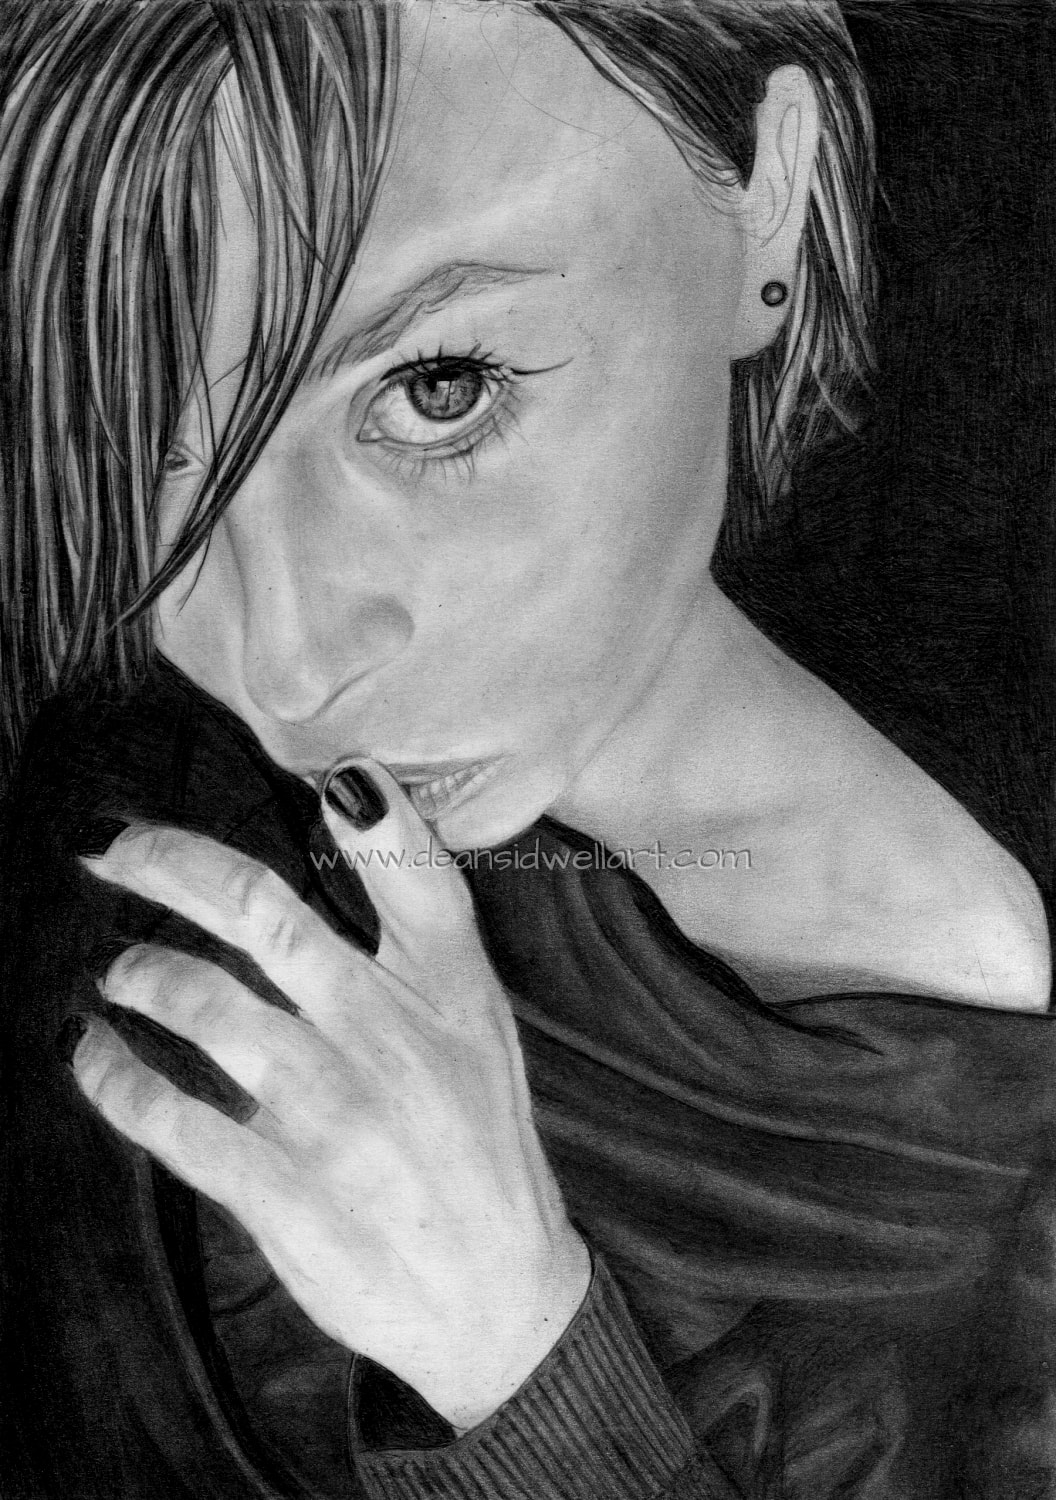
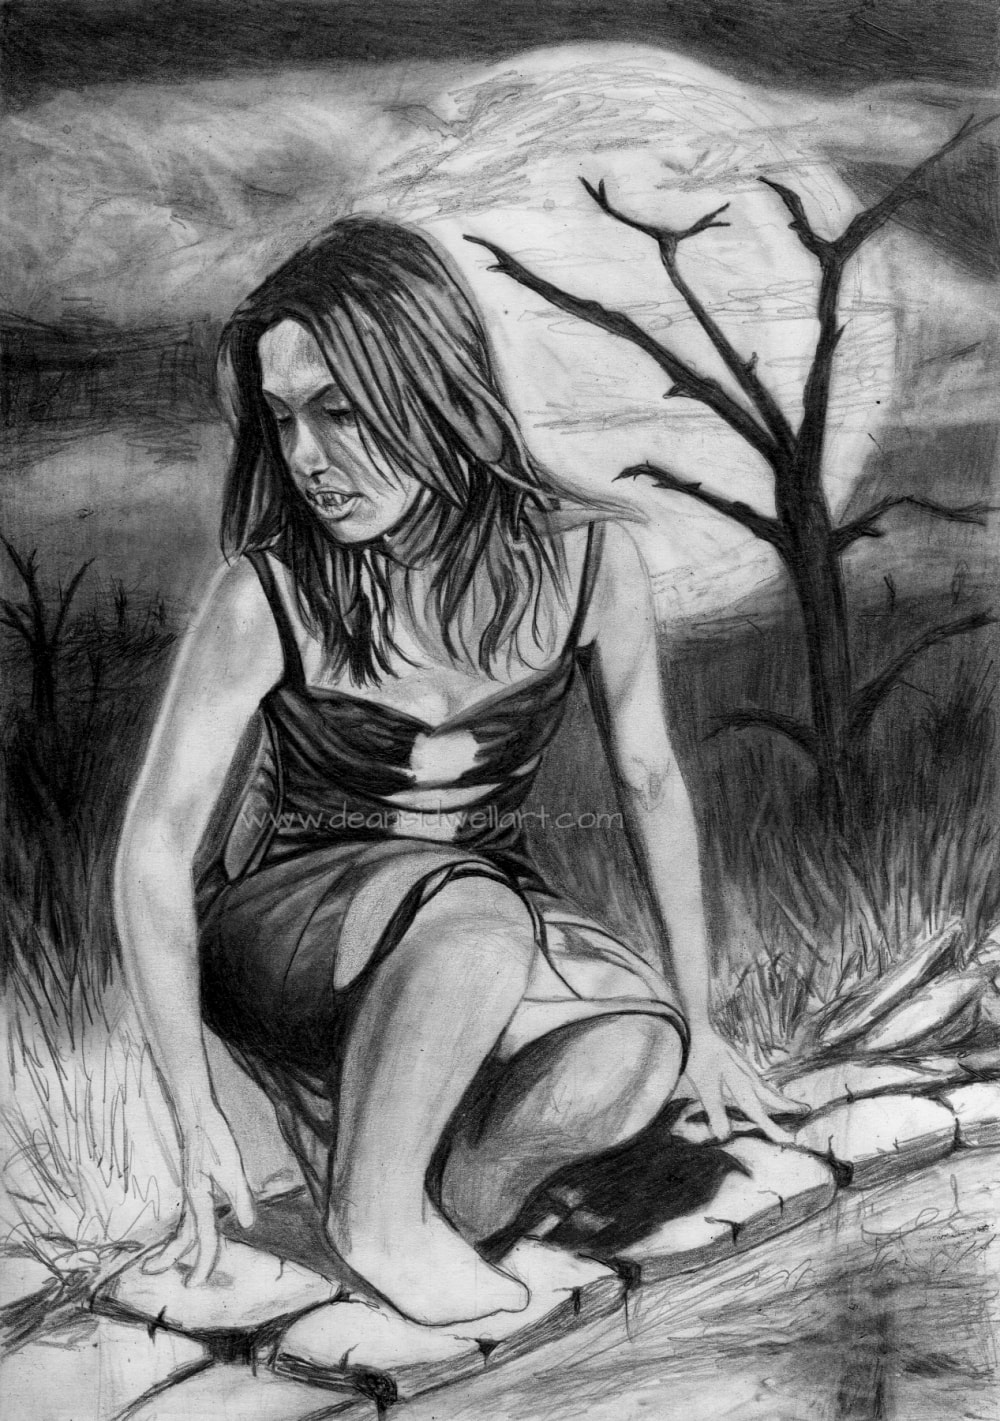
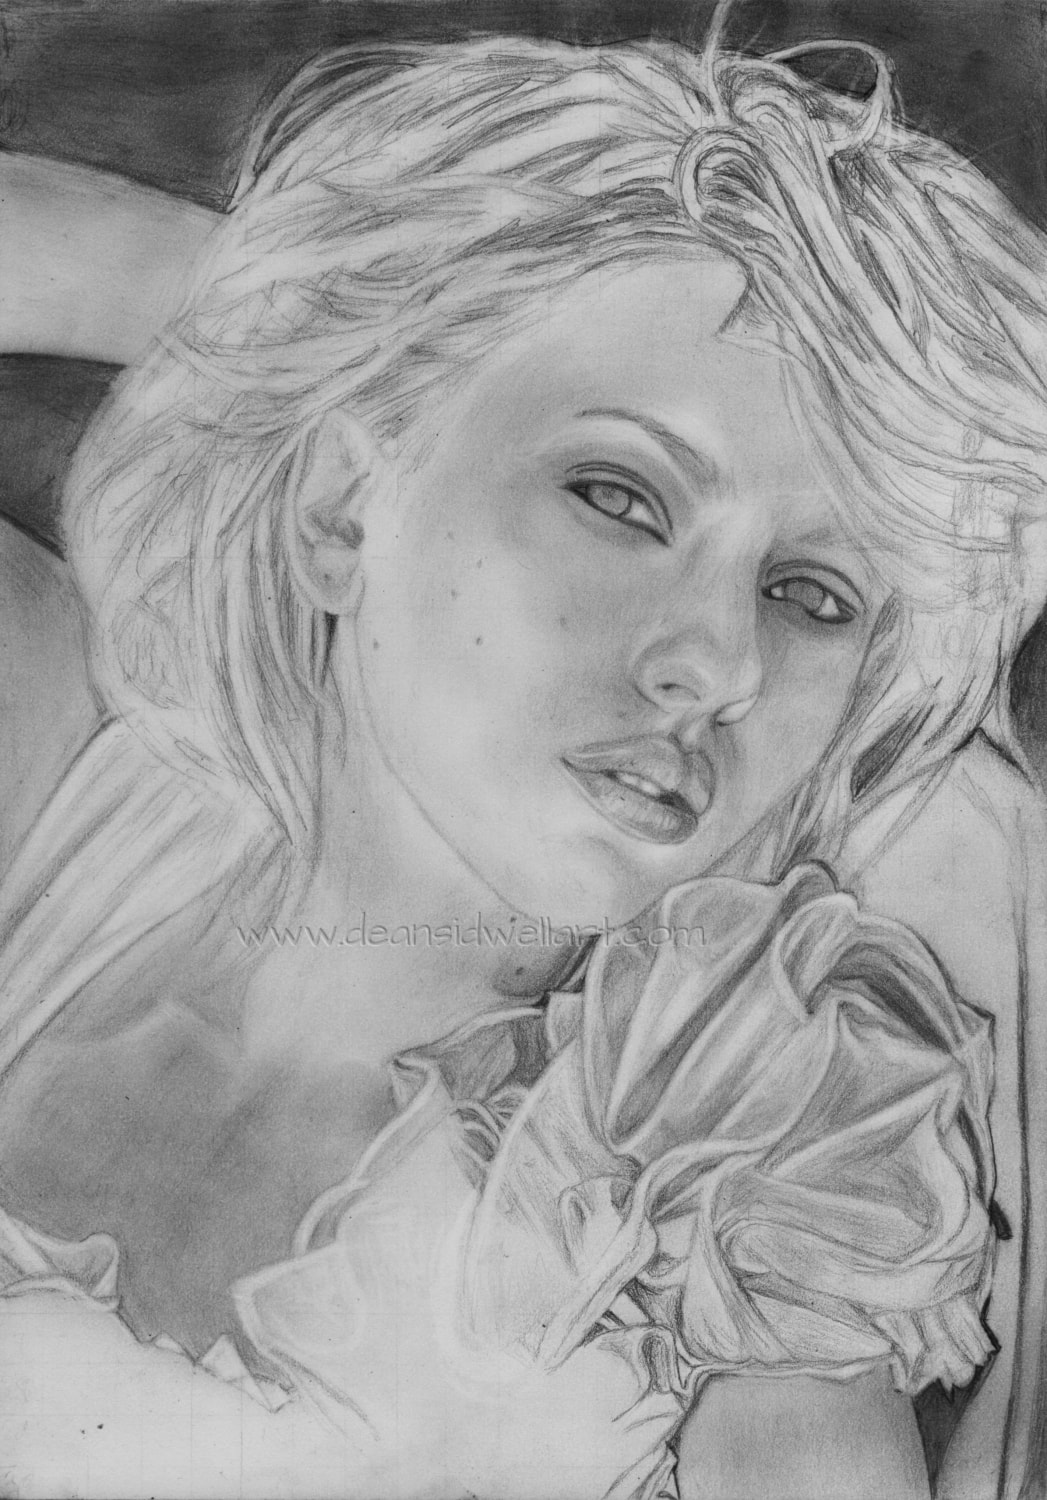
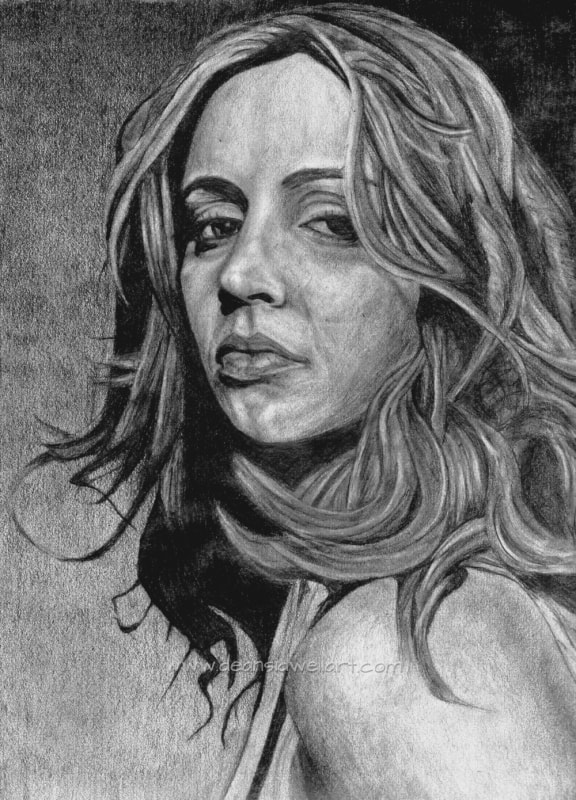
An older portrait of Rose Mcgowan. Working to get the hands right and doing some shading here. Drawn on size A4 cartridge paper using 0.5mm HB and 2B mechanical pencil, tissues, blending stumps, erasers.
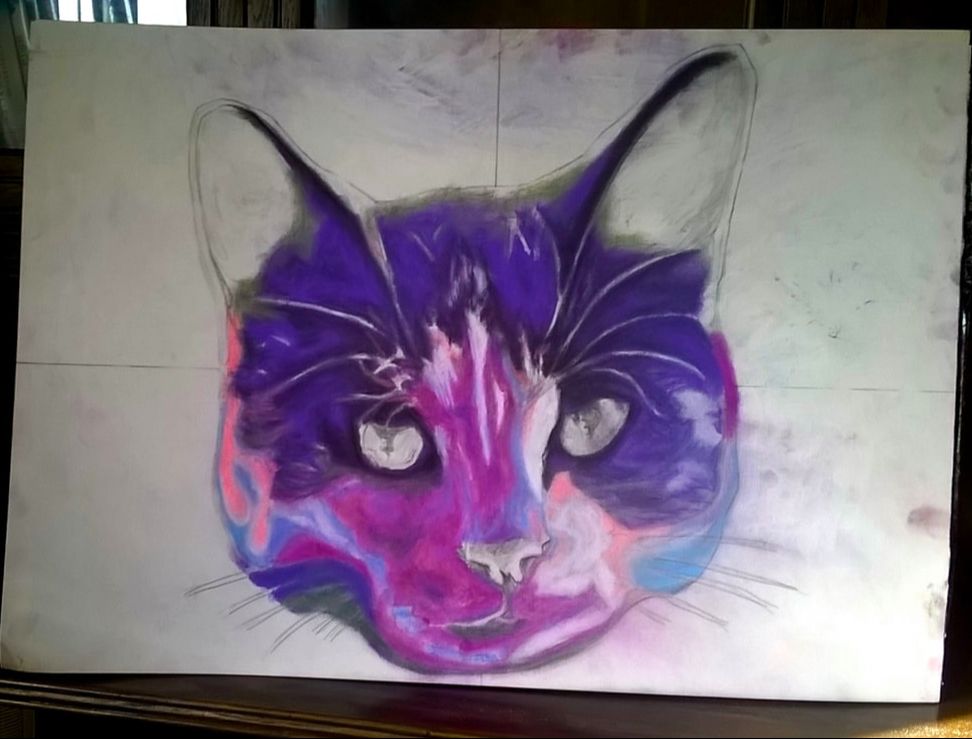
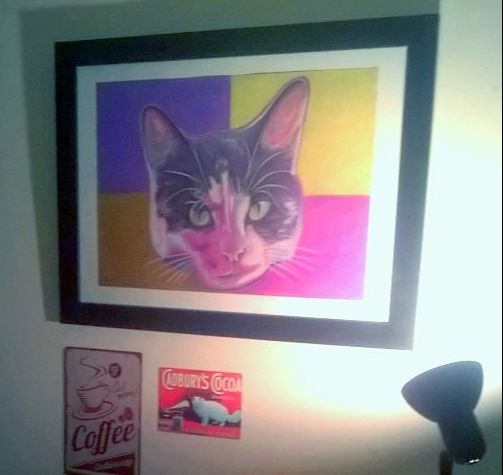
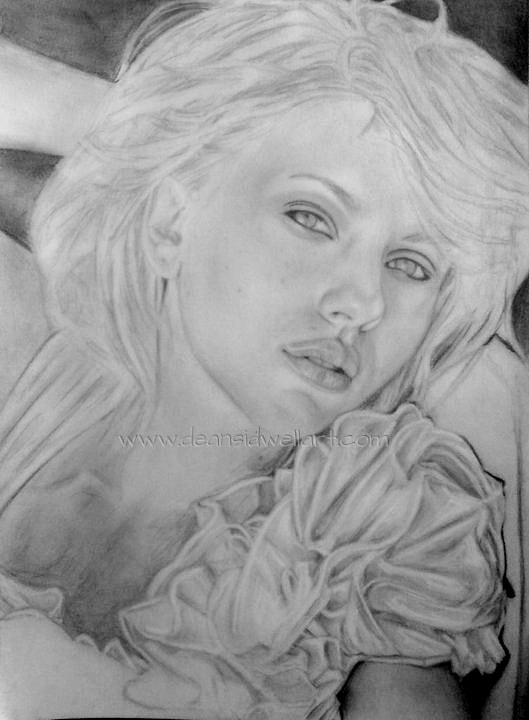
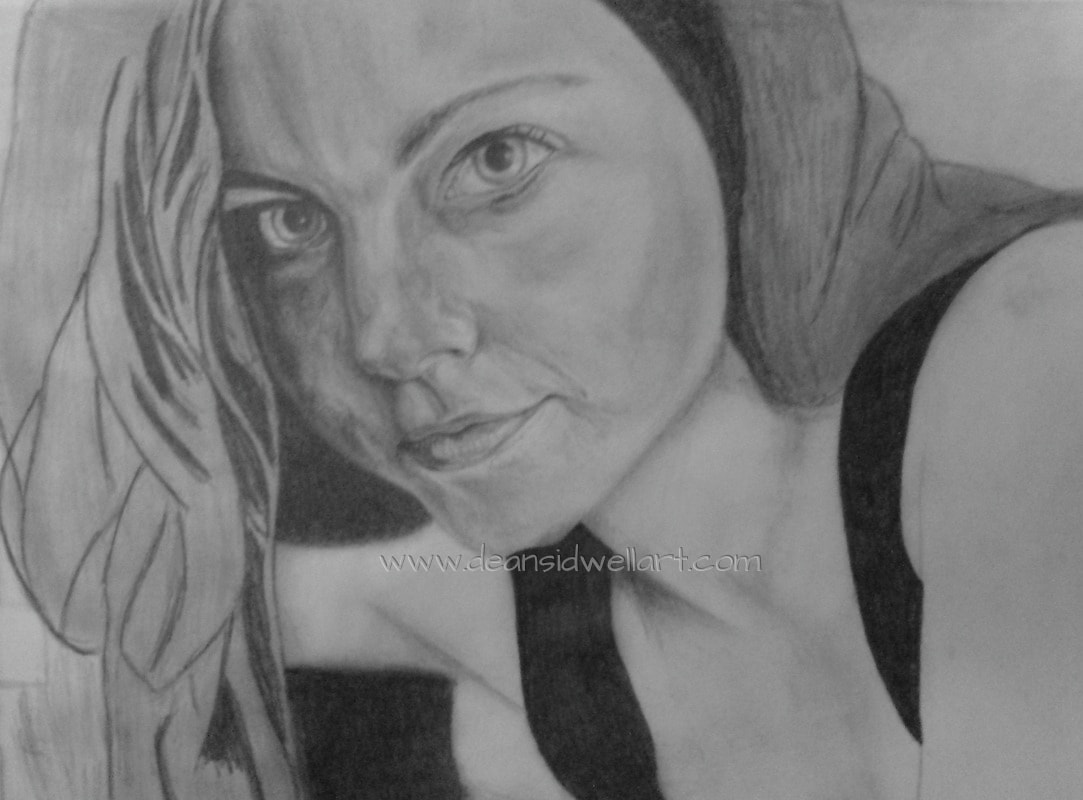
A very old portrait. Back then, I hadn't really done much in the way of portrait work. This was one of my first attempts. Definitely room for improvement here. After this I studied, read tutorials and did several practice portraits to try and improve them. The studying paid off though, the standard of my portrait work was much higher from that point on and would continue to improve. A bit of a mix of materials were used.to do this. HB pencil for the main and pastels on some of the darker areas and hair
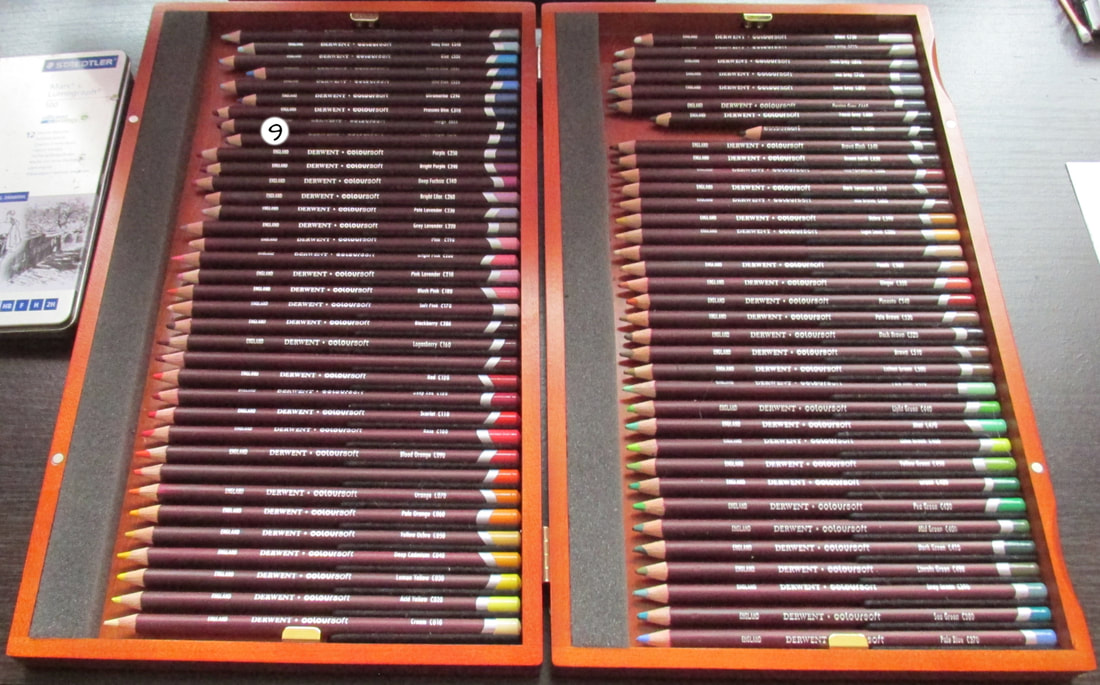
1) A quality drawing paper: Smooth Bristol board (250gsm) is a favourite that I use but I also use heavyweight cartridge paper too. I think you get better results from using a good quality paper. 2) A ruler: I measure everything for accuracy. It's especially important when drawing realism, and if you are using a reference, to get the proportions correct. Draw faint guidelines or you could try using grids to help you with this. 3) Staedtler Mars Lumograph pencils: These are what I use. They come in various grades. I use 8B at the darkest up to 2H for the lightest. I tend to use HB & 2B the most. Using different grades really help with the shading, contrast etc and using the darker B' grades can be be very important when doing drawings. Other quality brands are also available though. 4) Mechanical pencils: I use them for very fine detailing. They have refillable leads, normally 0.3mm, 0.5mm or 0.7mm. I use 0.5mm. Various lead grades are available but I only tend to use HB and 2B. 5) Pencil sharpener: What can I say? You need a pencil sharpener if you are using pencils. 6) Erasers: I use kneaded erasers and standard ones. Erasers are not just for removing mistakes, although they are important for that too, but they can help in many ways when drawing. Standard erasers are great for doing little highlights or you can use the sharp edge to add fine hairs. You can use a kneaded eraser to lighten larger areas or you can mould it into shape to help with highlights on small areas. I could say more but I've written a lot about them already. Erasers are really useful! 7) Blending stumps: They help to smooth and blend different shades of pencil together. Use different sizes depending on the area you are working on. They are great for blending in skin tones. Use sandpaper to sharpen the tips of them when they start to wear or get too dirty from the graphite. 8) Cotton buds: Cotton buds (or Q Tips) are another tool to help with blending. Softer than blending stumps, you can gently smooth and blend an area. I also use tissues for blending & for lightly dusting off excess graphite. For colour drawings 9): I use Derwent Coloursoft Pencils (pictured above) or Faber Castel Polychromos pencils. Both brands come in a huge variety of long lasting, hard waring vibrant colours. Both are great but the polychromos really are excellent. I've tried cheaper colour pencils in the past but you just don't get the same quality of results. |


|
|
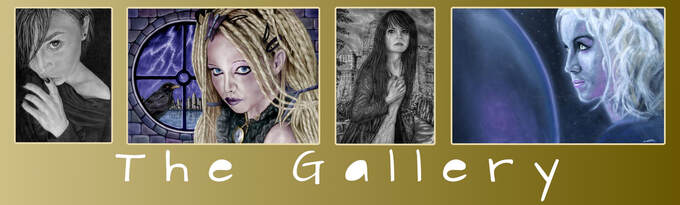
Don't forget to check out The Gallery to see my finished drawings and artwork. Portraits, fantasy art, landscapes and more. All displayed with descriptions and details about each piece. |
|
|
© All drawings and artwork on this site are by Dean Sidwell and are not be used without written permission.
Dean Sidwell Art, Nuneaton, Warwickshire, UK
Dean Sidwell Art, Nuneaton, Warwickshire, UK
